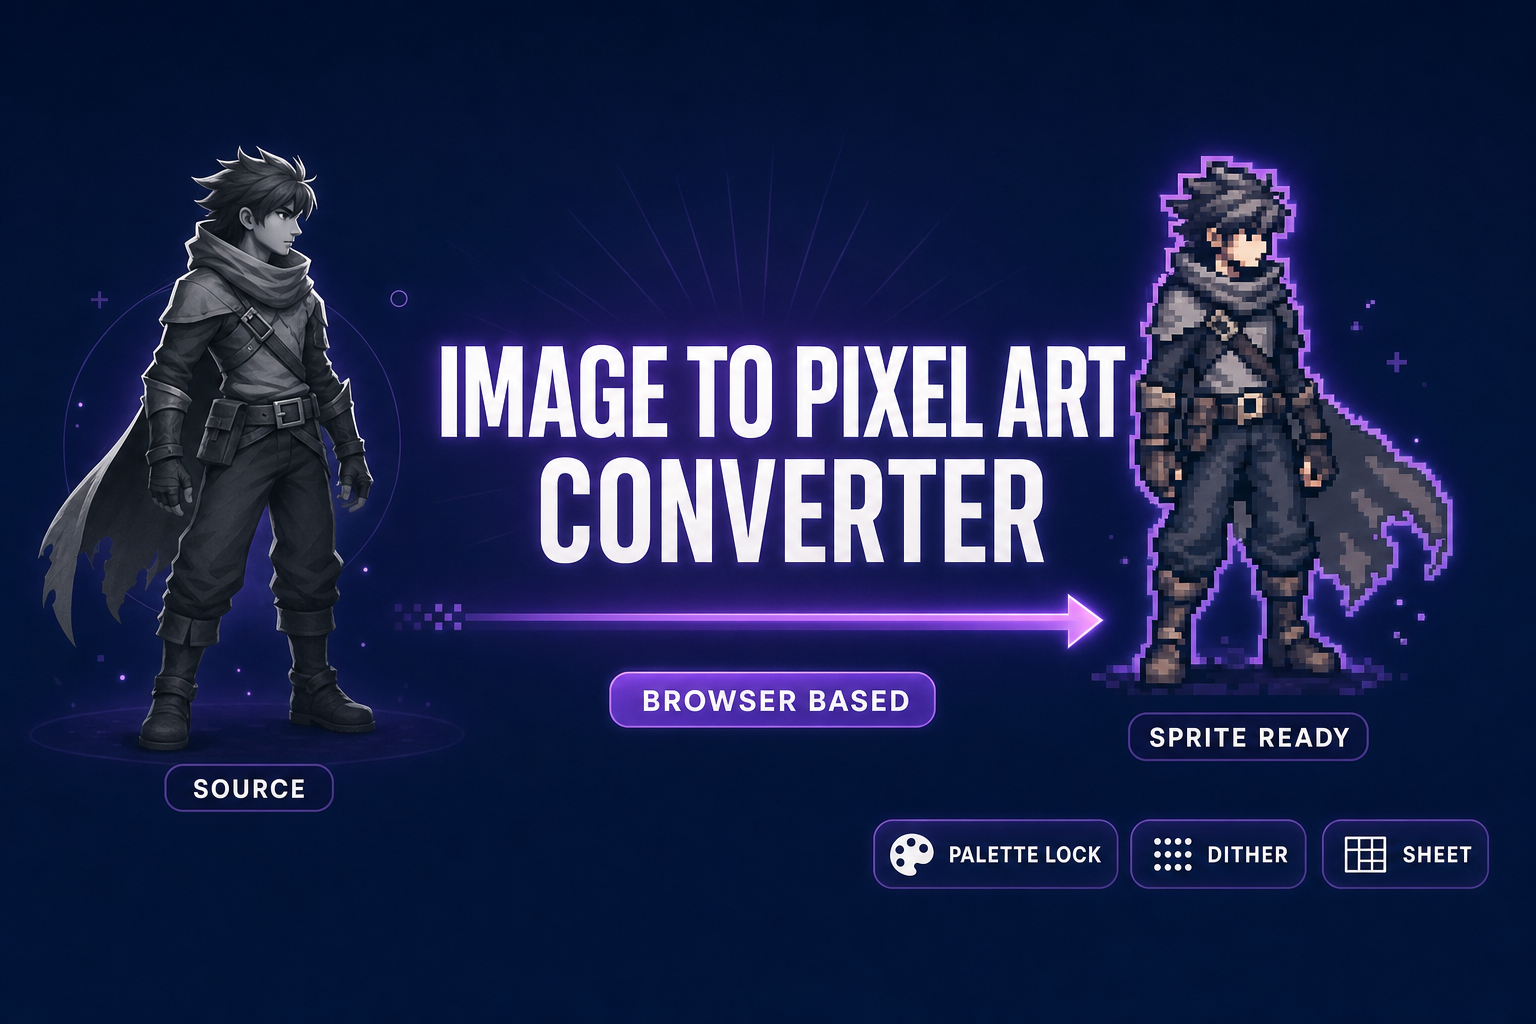
An indie dev with a finished character render or a 30-second screen-capture of a 3D character walking shouldn’t have to choose between paying for desktop software, learning a new pixel-art DCC, or pushing pixels by hand for an afternoon. The right tool is an image to pixel art converter — software that takes a regular image or video, downsizes it, locks it to a small palette, and writes a sprite-sheet PNG that imports into a 2D engine without further work. The dominant browser options in 2026 ship as pixel-art editors first and converters second, and the dominant desktop option (Aseprite) does not include an automatic conversion at all. This piece walks the five-step workflow inside Sorceress True Pixel, the converter-first browser tool that pairs with Quick Sprites for AI-generated sprites, with palette presets, dithering, edge cleanup, and sprite-sheet export verified against the live source on May 29, 2026.
What an image to pixel art converter actually does in 2026
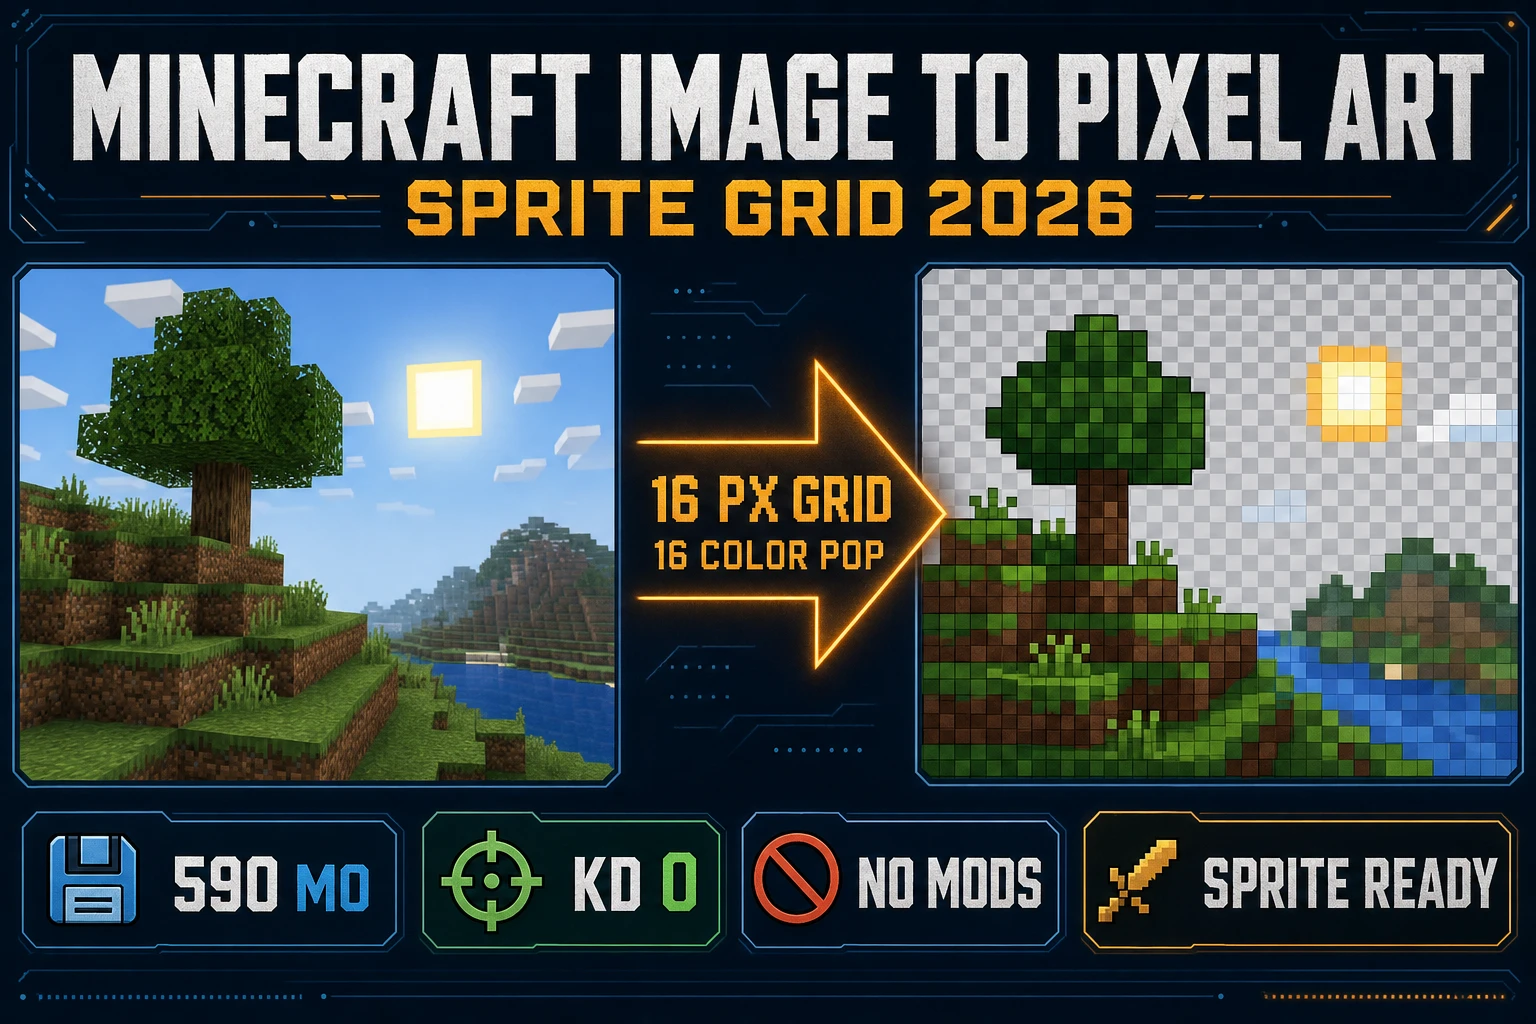
An image to pixel art converter is a deceptively narrow tool with three stages that have to land in the right order. First, the input pixel grid is downsampled to a target resolution — usually 16 to 256 pixels along the longest edge for a single sprite, or 16 to 48 pixels for a tile. Second, the millions of unique RGB values in the source are quantized down to a small palette, often between 4 and 32 colors. Third, an optional dithering pass redistributes quantization error so that flat color regions don’t produce visible banding. The output is an indexed-color image that looks intentional rather than crushed.
That stack — downscale, quantize, dither — is the entire definition of an image to pixel art converter. The interesting part is everything around it. A converter built for game development also needs to handle alpha transparency end to end, accept video so the user can convert an entire animation in one pass instead of frame by frame, lock the same palette across every frame so the animation doesn’t flicker between colors, and pack the converted frames into a sprite-sheet PNG with the row and column geometry the engine expects. A converter built for social-media posters skips all four of those features and exports a flat PNG with a white background. Picking the right tool is the difference between a clean engine import and an afternoon of cleanup work.
Where browser image to pixel art converters fall short for game devs
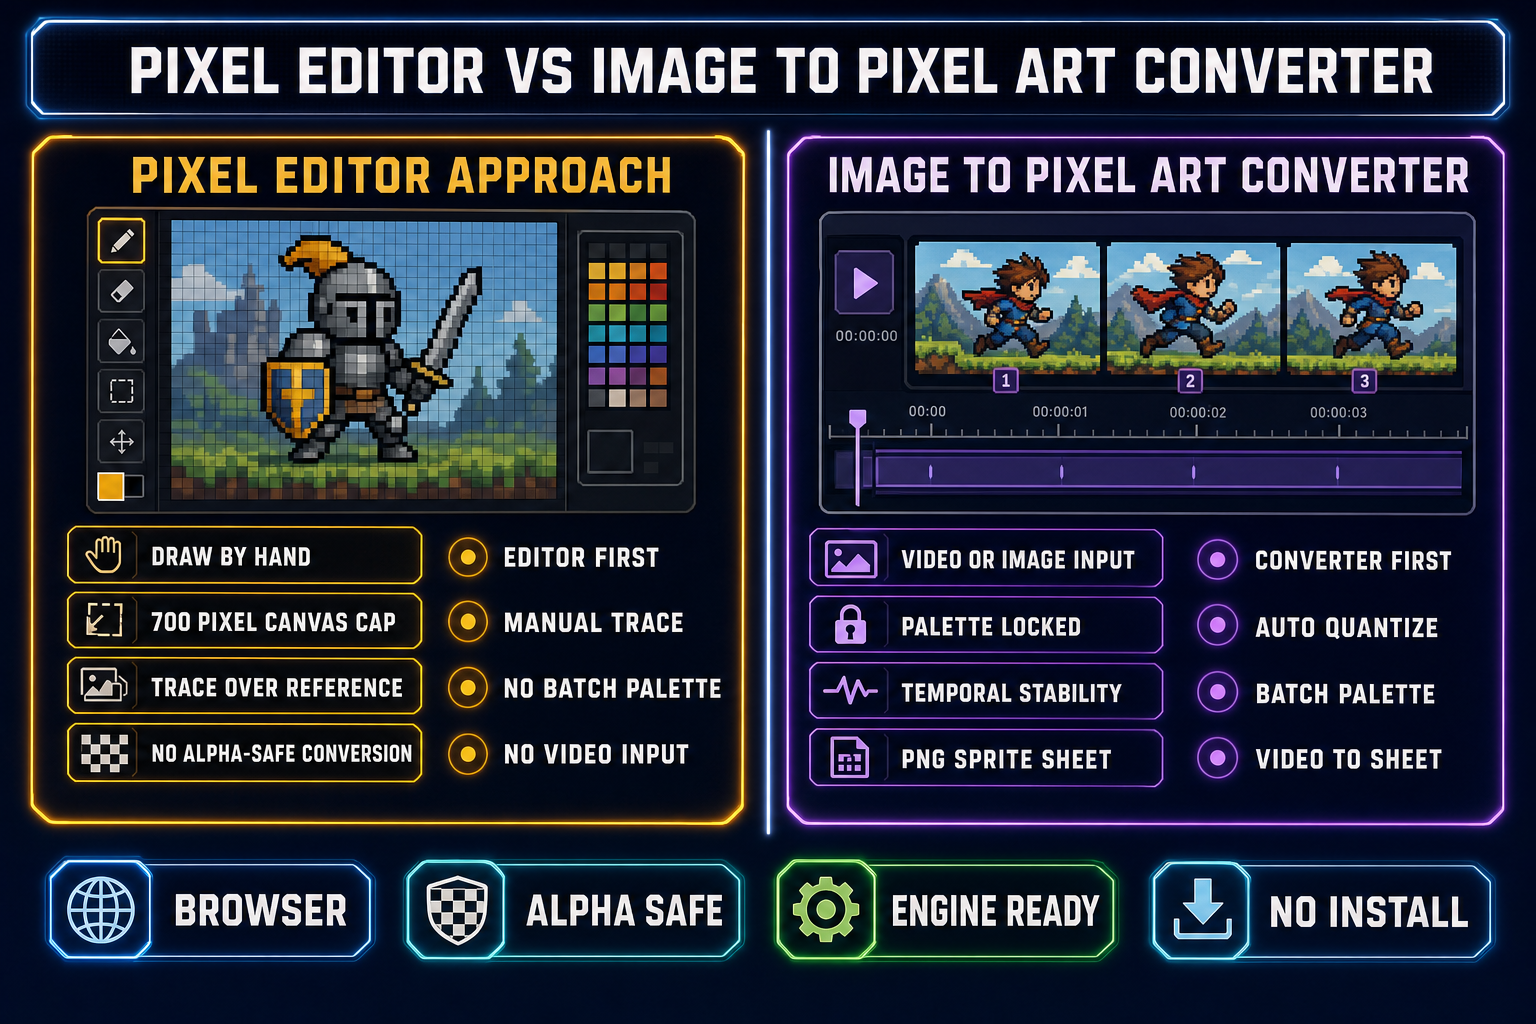
The most popular free browser tools for converting an image to pixel art are not actually converters. Pixilart is an in-browser pixel-art editor with a drag-in image workflow and an excellent community gallery; the canvas is capped under 700 pixels and the workflow is editor-first, meaning the user is expected to refine the image pixel by pixel after the import. Lospec Pixel Editor takes the same editor-first shape, paired with the best palette database on the internet. Both tools are great for hand-drawn pixel art and bad fits for converting a 1080p character render into an engine-ready sprite sheet in one session.
The category of ad-funded online uploader-style sites that promise “photo to pixel art in one click” is the worse trap. Most strip alpha channels because they treat pixel art as flat decoration, watermark exports unless the user pays, cap the output resolution to a thumbnail, and offer no palette control. The output looks like pixel art at a glance and falls apart the moment a 2D engine tries to import it as a sprite atlas with per-pixel transparency.
Aseprite is the dominant desktop pixel-art DCC and version 1.3.17 shipped on February 25, 2026 with the Pixel Perfect Stroke, Shading ink, RotSprite rotation, sprite-sheet export, and a Lua scripting layer. Aseprite does not, however, include an automatic image-to-pixel-art conversion feature. The standard Aseprite workflow when starting from a photo is to load the source as a reference layer and trace it pixel by pixel by hand. That is the right tool for a hand-drawn pixel-art project; it is the wrong tool for converting an existing character render or a video clip into a sprite sheet without a hand-drawing step.
Pack an image to pixel art converter into your pipeline in five steps
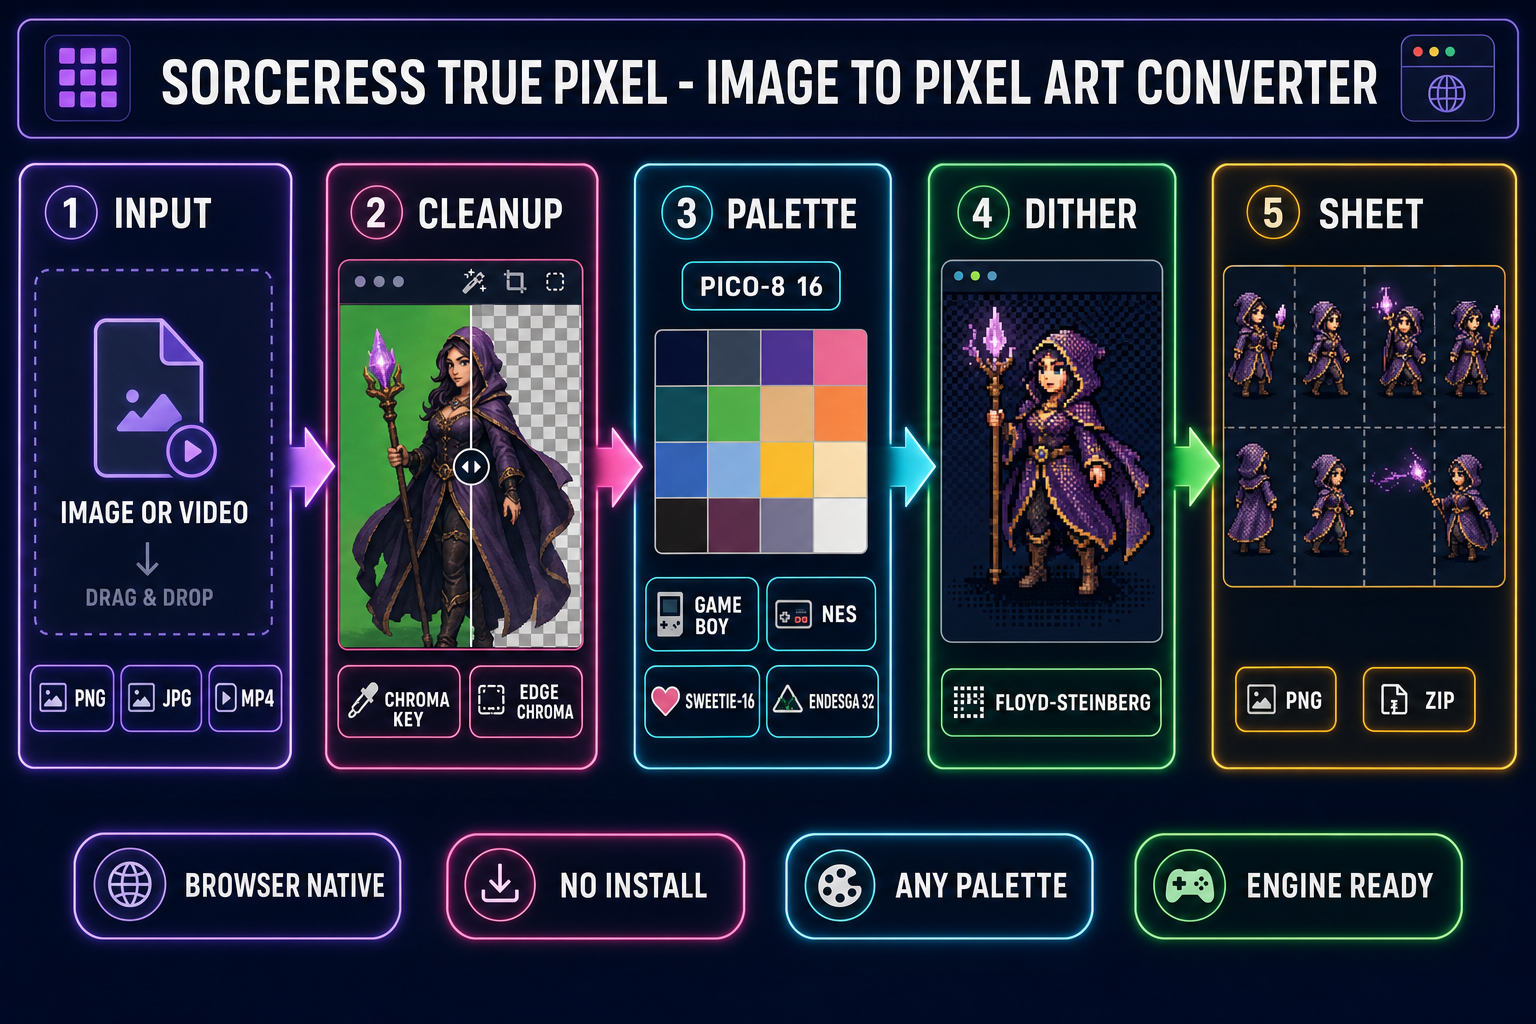
Sorceress True Pixel is a converter-first browser tool: drop a still or a video, run the conversion, export the sprite sheet. The five-step workflow below is verified against the live /pixel-art page source on May 29, 2026.
Step 1: Drop a still or a video into True Pixel
Open the True Pixel page in a browser. Drag a PNG, JPG, GIF, or MP4 onto the canvas, or paste a clipboard image. For a video, the tool extracts frames at 30 FPS and shows them as a horizontal strip at the bottom of the workspace. Click frames to keep them in the conversion or to drop them. For a still, the workspace shows a single frame ready for the next stage.
Step 2: Clean the background and lock the alpha
Game sprites need transparent backgrounds. True Pixel ships three cleanup tools that run before the palette pass: a chroma-key picker for solid colored backgrounds, the CorridorKey background removal pass for harder photographic backgrounds, and an edge chroma cleanup that removes the soft halo of color that bleeds out of an anti-aliased subject onto the background. Combine all three when the source is a real photograph; use only the chroma-key picker when the source is already a clean render with a known background color.
Step 3: Lock the palette before the conversion runs
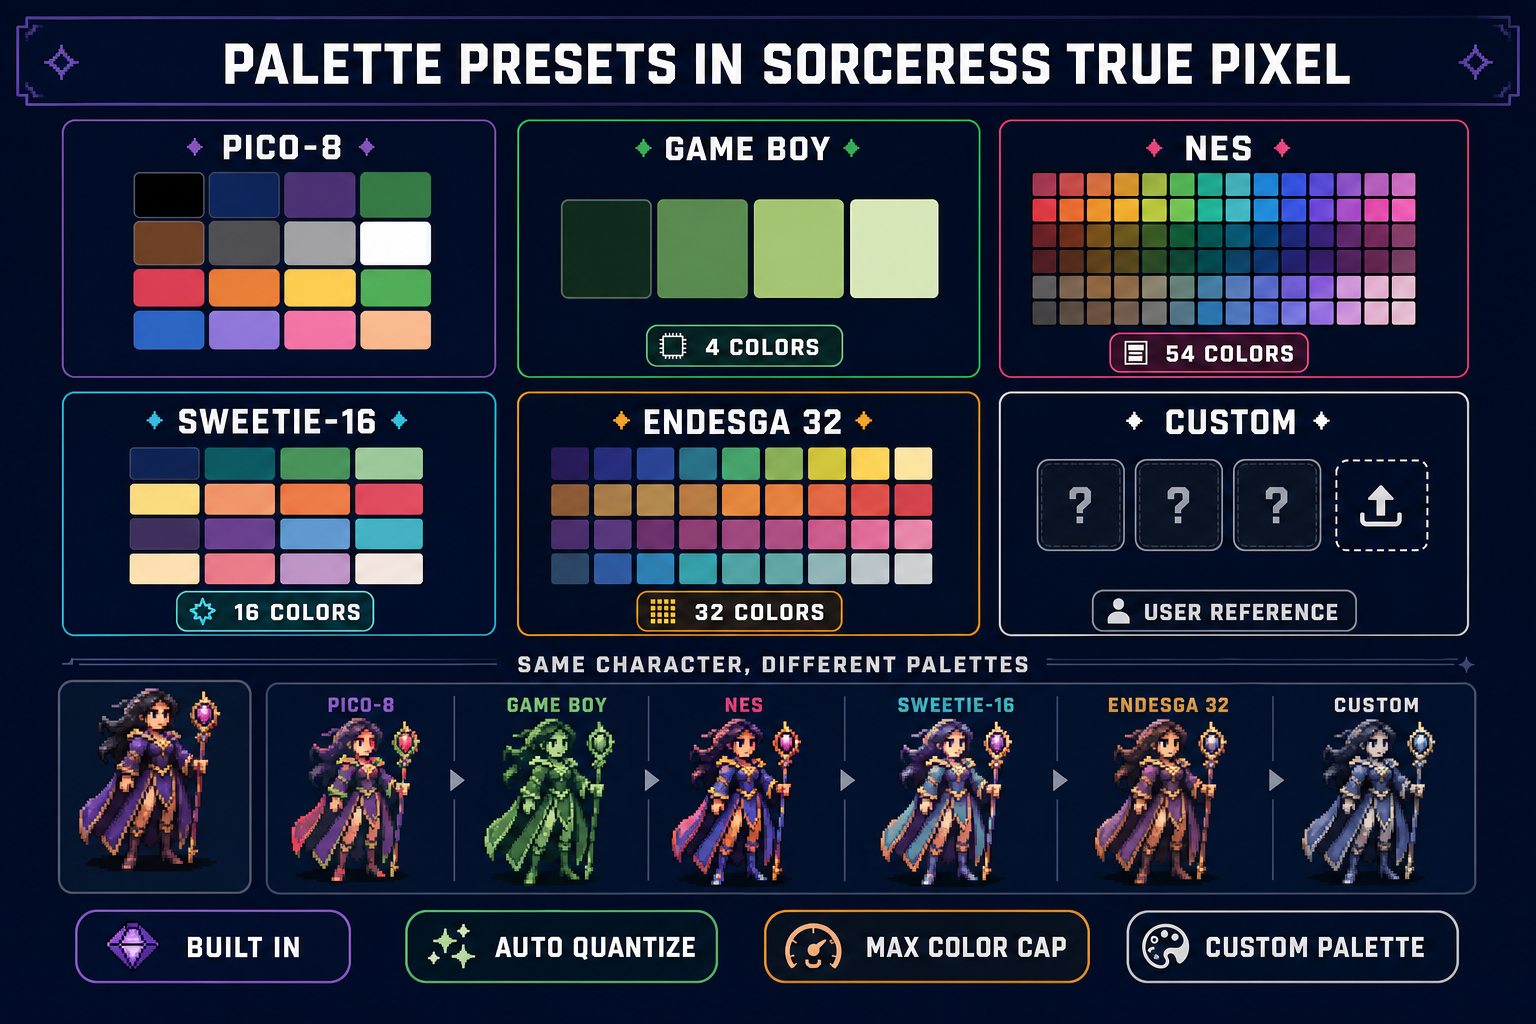
Open the palette preset menu. The built-in classic palettes verified in the source are PICO-8 (16 colors), Sweetie-16 (16 colors), Endesga 32 (32 colors), Game Boy (4 colors), CGA (16 colors), the NES hardware palette (54 colors), grayscale, and 1-bit. Pick the preset that matches the era your art direction is borrowing from, or set the menu to automatic and cap the maximum color count between 16 and 32 to let the quantizer pick representative colors directly from the source. Locking a palette before conversion is what makes the entire animation read as one scene rather than a sequence of slightly different recolors.
Step 4: Run the conversion and stabilize across frames
Click Convert. The tool runs the downscale, palette quantization, and dithering pass on every selected frame in parallel. The dithering choice is exposed in the right-hand panel: none keeps flat color regions clean, ordered applies a Bayer-style pattern that reads as classic 8-bit, Floyd-Steinberg applies error-diffusion dithering that softens gradients into noise. Match the dithering to the palette size: high intensity on small palettes (4 to 8 colors), low or off on larger ones (32 to 64 colors). The temporal-stability pass runs automatically when more than one frame is in the timeline; it builds one shared palette from every frame in the conversion and re-runs each frame against that single palette so the same shadow color in frame 3 stays the same shadow color in frame 14. That single feature is what stops sprite sheets from flickering between frames at runtime.
Step 5: Pack the sprite sheet and export
Open the export menu. The packed-sprite-sheet PNG with transparent background is the default export — row count, column count, and frame size are read from the timeline automatically. The 1x raw pixel PNG export writes the converted frames at the converter’s working resolution; the scaled preview export upsamples them with nearest-neighbor scaling so they read cleanly on a non-pixel-art surface like a marketing page. The ZIP export bundles every frame as an individual PNG when the engine pipeline expects separate files. The fixed-canvas mode pads every frame to the same dimensions so animation playback doesn’t shift; the tight-crop mode trims each frame to its alpha bounding box for a smaller file when the engine handles per-frame offsets natively. The packed sprite sheet imports into Phaser, Godot, Unity, GameMaker, Construct, RPG Maker, and Defold without further conversion.