There is a recognizable shape to the search query how to make a platformer in Game Maker: an indie dev picked Game Maker because it is the lowest-friction commercial 2D engine on the market (one-time $99.99 for a full commercial license, no royalties, no subscription if you skip console export), they have walked through one or two beginner tutorials, and they want the next thing every platformer needs — gravity that accumulates, a jump that arcs, ground that stops the fall, and sprites that look like a real game instead of a placeholder grey rectangle. The honest answer comes in two halves. The first half is pure GML: a tiny Step-event script using four variables (move_speed, jump_speed, move_x, move_y), a place_meeting ground check, and Game Maker’s modern move_and_collide physics call. The second half is the asset side that Game Maker leaves open: AI-generated hero sprites with proper four-direction walk cycles, a real pixel palette instead of stock pack art, and a music loop that does not come from the same CC0 chiptune folder everyone else uses. Below is the full pipeline (verified 2026-06-08 against the Game Maker official Easy Platformer tutorial and the Sorceress source code) that turns the empty Game Maker project into a playable platformer.
What “How to Make a Platformer in Game Maker” Means in 2026
Before the code, the terms. Game Maker (originally Animo, later Game Maker, then GameMaker Studio, now simply GameMaker) is a 2D game engine first released in 1999 by Mark Overmars, sold to YoYo Games in 2007, and acquired by Opera Limited in 2021. The engine ships a packaged IDE with a built-in Sprite Editor, Room Editor, Object Editor, Tile Set Editor, and GML (Game Maker Language) code editor; it targets every desktop, mobile, console, and HTML5 web platform from a single codebase. A platformer is the side-view genre defined by a character that jumps from platform to platform while gravity pulls it back to the ground — the side-view tradition that runs from Donkey Kong through Super Mario Bros. through Sonic the Hedgehog through Celeste and Hollow Knight (Hollow Knight itself was built in the same engine you are about to use). The platformer-in-Game-Maker search slot covers the intersection: how to make a platformer in Game Maker that actually feels like a real platformer (gravity, jump, ground collision, sprite facing, walk cycle) instead of a static grey rectangle that teleports up when the space key is pressed.
Two things separate a beginner Game Maker platformer from one that feels right. The first is the physics: gravity must accumulate over time, jumps must arc instead of snap, ground detection must fire before the sprite renders at its new y position, and sprite facing must flip with horizontal input. The second is the art: Game Maker’s Free tier ships with no asset pack at all (just the IDE), so a Game Maker platformer with a proper hero sprite (recognizable silhouette, four-frame walk cycle that loops, palette-locked colours that read clearly against the background) feels eight steps closer to a real game with no extra GML code. The pipeline below covers both halves.
The Five Pieces Every Game Maker Platformer Needs
One IDE, five AI helpers, zero ongoing subscription cost.
- Game Maker (Free tier) — the IDE itself, free for non-commercial use, with exports to Desktop (Windows, macOS, Linux), Mobile (Android, iOS, tvOS), HTML5 Web, and Game Maker’s own GX.games web platform. The Free tier is the same IDE as the paid tiers with no asset count limits and no watermark; the only restrictions are that you cannot sell the game commercially (one-time $99.99 Professional license unlocks that) and you cannot export to Xbox, PlayStation, or Switch (Enterprise subscription at $79.99 per month or $799.99 per year unlocks console). Verified against the Game Maker pricing page on 2026-06-08.
- Sorceress AI Image Gen at /generate — type a one-sentence prompt for the hero character (style, palette, pose, view angle), pick a 1:1 aspect ratio at 1024 by 1024, and let the model render a clean side-view reference. This is the source image that the next two tools convert into a Game-Maker-ready PNG sprite.
- Sorceress True Pixel at /pixel-art — the browser pixelizer that takes the AI-rendered character and converts it to a real pixel-art sprite locked to one of eight retro palettes (PICO-8 16, SWEETIE-16, Endesga 32, Game Boy, CGA, NES 54, Grayscale 8, 1-Bit; verified against
src/app/pixel-art/page.tsxon 2026-06-08). True Pixel handles the downscale, the edge cleanup, and the optional dithering pass; it outputs a transparent-background PNG that drops straight into Game Maker’s Sprite Editor Import command. - Sorceress Quick Sprites at /quick-sprites — the walk-cycle generator that takes the pixelized hero and produces a four-direction four-frame walking animation on a 48-by-48 grid (Four Angle Walking style) or a six-row Small Sprites sheet at 32 by 32 (right, left, arms, look, surprise, lay down). Each generation runs the Retro Diffusion
rd-animationmodel at nine credits per generation, verified againstsrc/app/quick-sprites/page.tsxlines 18 through 48 on 2026-06-08. The output is a sprite-sheet PNG you load straight into Game Maker via Image, Import Strip Image with frame count 16, frame width 48, frame height 48, frames per row 4. - Sorceress Music Gen at /music-gen plus Sound Studio at /sound-creator and SFX Gen at /sfx-gen — three browser tools that handle the audio half of a Game Maker platformer: Music Gen produces a looping level track from a text prompt (10 credits per generation per
src/app/music-gen/page.tsxline 26), SFX Gen produces short SFX clips (jump, land, hit, coin), Sound Studio trims and masters the results. Game Maker accepts WAV, MP3, and OGG audio assets — all three Sorceress audio tools export to those formats.
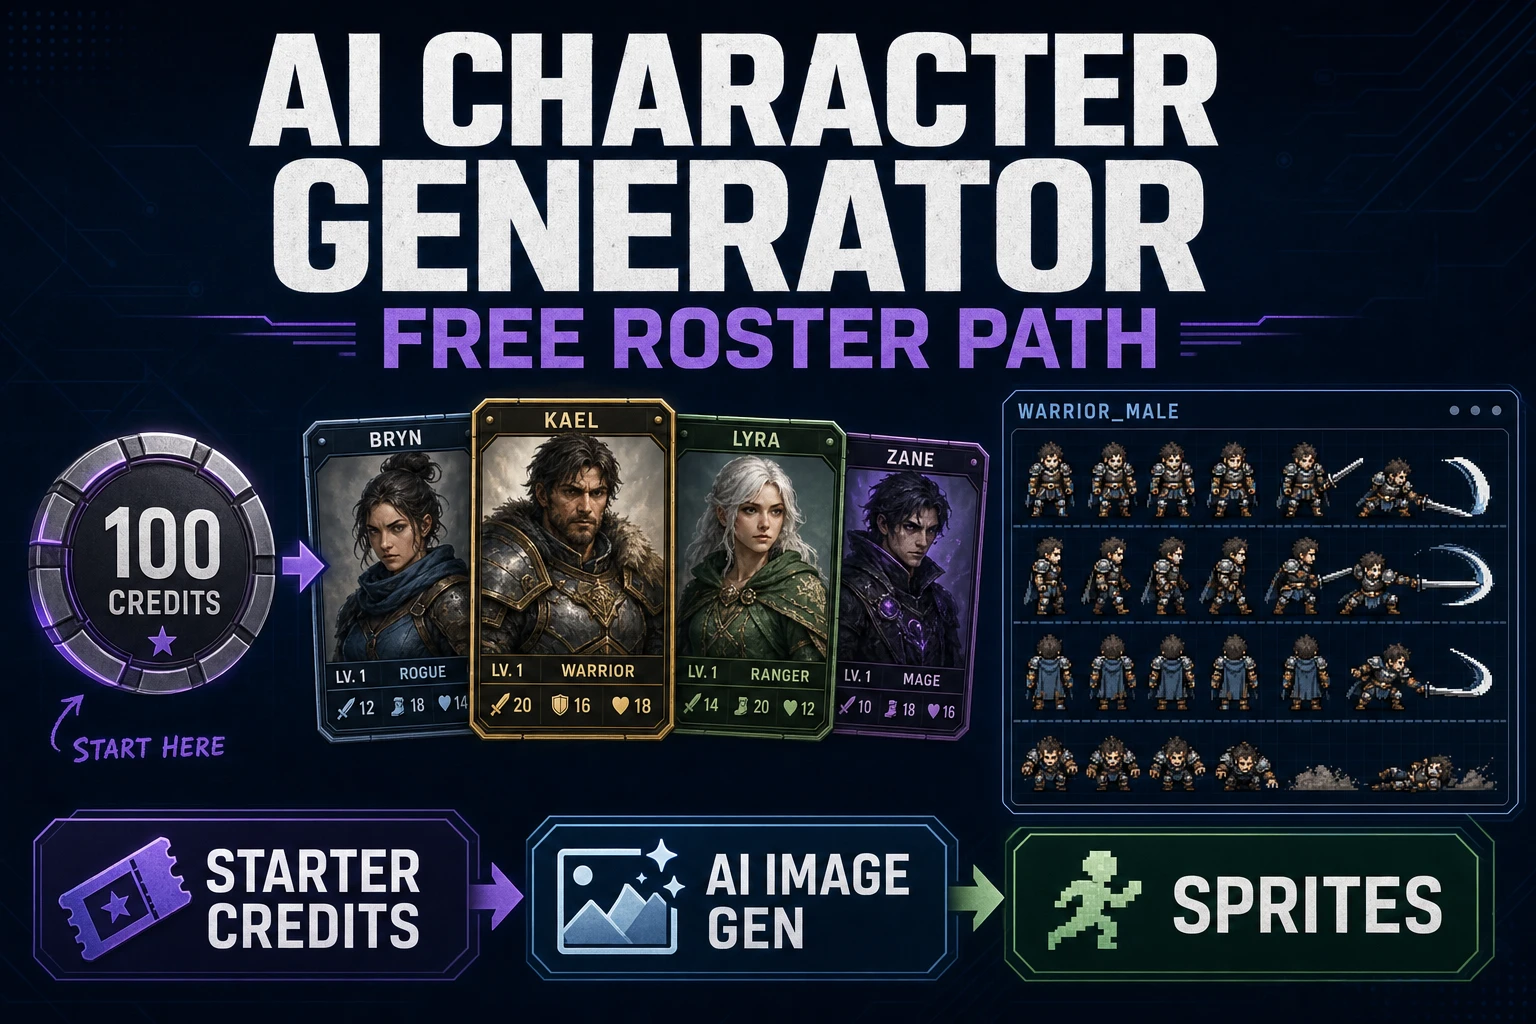
The full Sorceress stack starts at the free signup tier (100 starter credits, verified against the Sorceress home hero on 2026-06-08), which covers roughly the first complete art-and-audio pass for one Game Maker platformer level. After the starter credits, the credit packs at $10 for 1,000 credits never expire and never auto-renew — a hard-stop credit model that suits the one-project-at-a-time rhythm of a Game Maker hobby project. Lifetime access to all the non-credit tools (True Pixel, Auto-Sprite v2, 3D Studio, Procedural Walk, Tileset Forge, Canvas, the Sprite Analyzer + Slicer, and more) is $49 one-time, also verified against src/app/plans/page.tsx line 44 on 2026-06-08.
Step 1 — Set Up the Game Maker Project (Free Tier, IDE, First Sprite)
Download Game Maker from the official site, sign in with the free account, and launch the IDE. From the Game Maker landing screen, click New Project, give it a name (something like platformer-test), and pick GML Code as the project language (not GML Visual unless you specifically want the drag-and-drop block editor; GML Code is the standard scripting language and matches every tutorial in the Game Maker documentation). The IDE opens with the Asset Browser on the right, an empty Code Editor in the center, and an empty Room Editor on the left.
Create the three asset types every platformer needs before you write a single line of code:
- Sprites. Right-click the Sprites folder in the Asset Browser, pick Create Sprite, and name it
spr_player. Double-click to open the Sprite Editor. For now, draw a placeholder rectangle in the editor canvas (we will replace this in Step 2). Set the sprite origin to Middle Centre via the Origin dropdown at the top of the Sprite Editor (so the sprite rotates and flips around its center pixel, which makes the platformer math cleaner). Create a second sprite calledspr_groundthe same way and draw a horizontal rectangle — this is the floor and platform tile. - Objects. Right-click the Objects folder, Create Object, name it
obj_player, and assignspr_playeras its sprite. Create a second objectobj_groundand assignspr_ground. Tick the Solid checkbox onobj_ground— this flags it as a collision target for the physics call we will write in Step 3. - Room. Right-click the Rooms folder, Create Room, and name it
rm_level_1. Double-click to open the Room Editor. Drag a singleobj_playerinstance into the upper-left of the room and drag a horizontal row ofobj_groundinstances across the bottom of the room (this is the floor). Game Maker uses a 32-pixel grid by default, which works fine for a 48-by-48 player sprite.
Turn off pixel-interpolation so the AI-generated sprites stay crisp at every zoom: open Game Options (the Tools menu, then Game Options), navigate to the Graphics section, and untick Interpolate colors between pixels. Save the project. The IDE is now ready for sprites and code.
Step 2 — Generate the Player Sprite (Free AI Sprites From Sorceress)
Open /generate in a new browser tab. In the prompt box, describe the hero character in one sentence: appearance, palette mood, view angle, action stance. Two prompts that consistently work for platformer heroes:
- “Side-view pixel-art knight character, blue armor, red plume, sword at side, idle stance, transparent background, NES-style palette, 1024 by 1024 square format.”
- “Side-view chibi adventurer, lavender cloak, brown boots, idle stance, transparent background, retro pixel-art aesthetic, 1024 by 1024 square.”
Pick a 1:1 aspect ratio (Game Maker sprites render best as squares because the Sprite Editor’s frame-grid math is built around uniform-aspect frames). Generate; the model returns a clean illustration. Save the chosen PNG.
Open /pixel-art in another tab. Drag the saved PNG into the True Pixel upload zone. The tool reads the image, downscales it to a pixel grid (default 48 by 48, which matches the Quick Sprites Four Angle Walking grid we will use next), and asks you to pick a palette. The choice matters: a 16-colour PICO-8 palette reads cleanly on a Game Maker room at any scale, a 32-colour Endesga 32 palette gives more painterly depth, and the Game Boy four-colour palette produces the classic monochrome look. Pick one, preview the result, optionally enable the dithering pass to smooth gradients, and export the final PNG. The output is a transparent-background sprite locked to the chosen palette at 48 by 48 pixels.
Now open /quick-sprites. Drag the True Pixel hero PNG into the upload zone. Pick the animation style: Four Angle Walking produces a 48-by-48 pixel grid with four frames of walking animation in each of four directions (up, right, down, left), which is the right choice for a top-down or three-quarter-view platformer. For a strict side-view platformer, the Small Sprites style at 32 by 32 with six rows (right, left, arms, look, surprise, lay down) is often closer to what you want. Pick the style that matches your game’s camera angle. Quick Sprites runs the Retro Diffusion rd-animation model at nine credits per generation; the output is a single sprite-sheet PNG with every frame laid out on a grid. For Four Angle Walking that is a 192-by-192 sheet (four columns of 48-by-48 frames in four rows, 16 frames total). Download the sheet.
Back in Game Maker, double-click spr_player in the Asset Browser to open the Sprite Editor. From the Image menu, pick Import Strip Image, navigate to the Quick Sprites PNG, and click Open. Game Maker asks four numbers in the import dialog:
- Number of Frames: 16 (four directions of four frames each).
- Frame Width: 48.
- Frame Height: 48.
- Frames Per Row: 4.
Game Maker auto-slices the sheet into 16 sequential frames and lines them up in the Sprite Editor timeline. Confirm the origin is still Middle Centre and save the sprite. End-to-end time from AI Image Gen prompt to Game Maker import is about ten minutes the first run, four minutes once you have the rhythm. Credit cost is about three credits for the AI Image Gen render, one credit for the True Pixel pass, and nine credits for the Quick Sprites sheet — thirteen of the 100 starter credits per hero variant, which is cheap enough to roll three or four candidates and pick the strongest one.