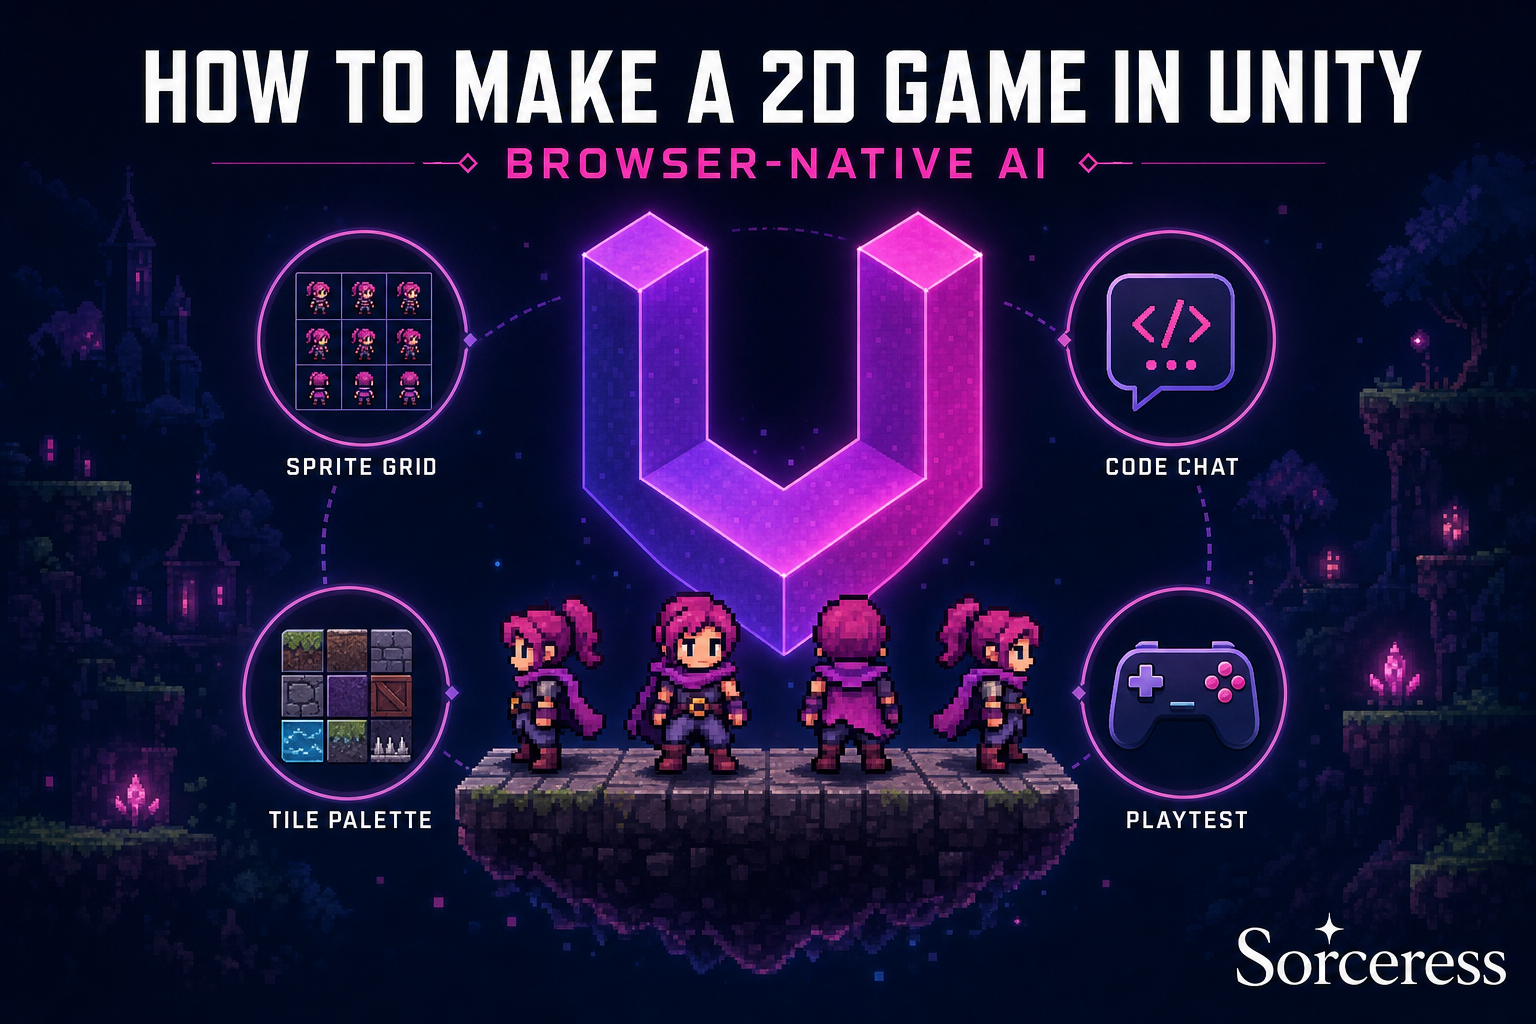
Anyone trying to figure out how to make a 2D game in Unity in 2026 hits the same fork as every other indie. The engine itself ships free under Unity Personal up to a $200,000 USD revenue ceiling (Unity Pro starts at $2,310 per seat per year above that threshold, per the live unity.com/products page verified May 30, 2026), so the engine cost is not the obstacle. The obstacle is everything that wraps around the engine — the sprite sheets, the tile art, the C# scripts that wire the player to the Tilemap, the placeholder audio. A solo developer working through how to make a 2D game in Unity from scratch this year can pay Adobe for the sprites and another subscription for the AI assistant inside the editor, or run the whole pipeline through one browser stack that costs a fraction of the per-asset price. This post walks the second path, end to end, with every Unity API and every Sorceress credit cost verified against the live source on May 30, 2026.
What “how to make a 2D game in Unity” actually means in 2026
Unity 6.3 LTS, released December 4, 2025 and supported through December 2027 (verified against the live unity.com/releases/unity-6/support page on May 30, 2026), is the recommended editor version for a new 2D project this year. Unity 6.4 shipped on March 18, 2026 as the latest Supported release and adds quality-of-life improvements on top of 6.3 LTS, but the LTS line is the one a solo developer wants for a game they intend to maintain past 2027. Both versions ship the same 2D feature surface: the Sprite Renderer, the 2D Tilemap with Tilemap Collider 2D and Composite Collider 2D, Rigidbody 2D physics with a dedicated 2D solver, the Animator state machine, and the C# scripting layer wired into the MonoBehaviour lifecycle.
How to make a 2D game in Unity is therefore a question about asset generation and C# scripting, not about the engine itself. The engine handles the rendering loop, the physics step, the input system, the build pipeline, and the cross-platform export to Windows, macOS, Linux, iOS, Android, and WebGL. Everything in the editor that is not the engine itself — the sprite sheets, the tile palettes, the player controller, the camera follow, the placeholder SFX — is content the developer ships or generates. The browser-native AI stack in the rest of this post is the content production layer, not a replacement for the editor.
The five Unity-side concepts this guide assumes the reader can read in the editor are: a GameObject (any entity in the scene hierarchy), a Component (a script or built-in module attached to a GameObject, including Rigidbody 2D and Box Collider 2D), a Prefab (a serialized GameObject template that can be instantiated anywhere), a Tilemap (a Grid-anchored GameObject that paints sprite tiles from a Palette), and a MonoBehaviour (a C# script class that inherits Unity’s lifecycle methods such as Start(), Update(), FixedUpdate(), and OnCollisionEnter2D()). Every step below resolves to one of those five.
The browser-native AI stack that pairs with Unity
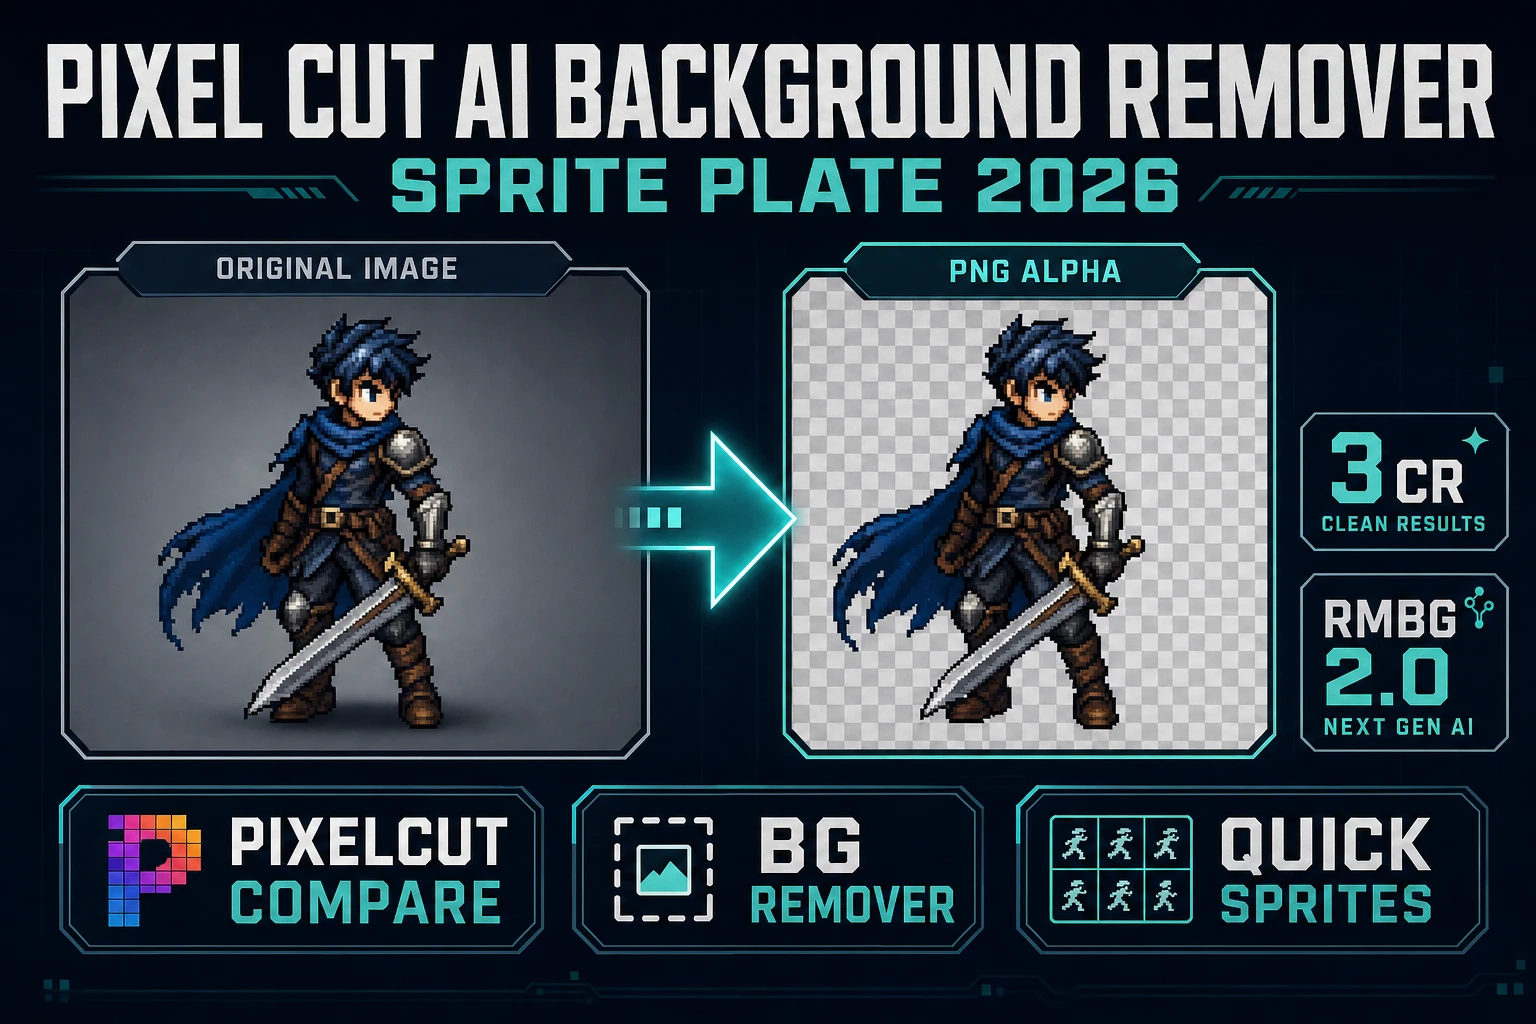
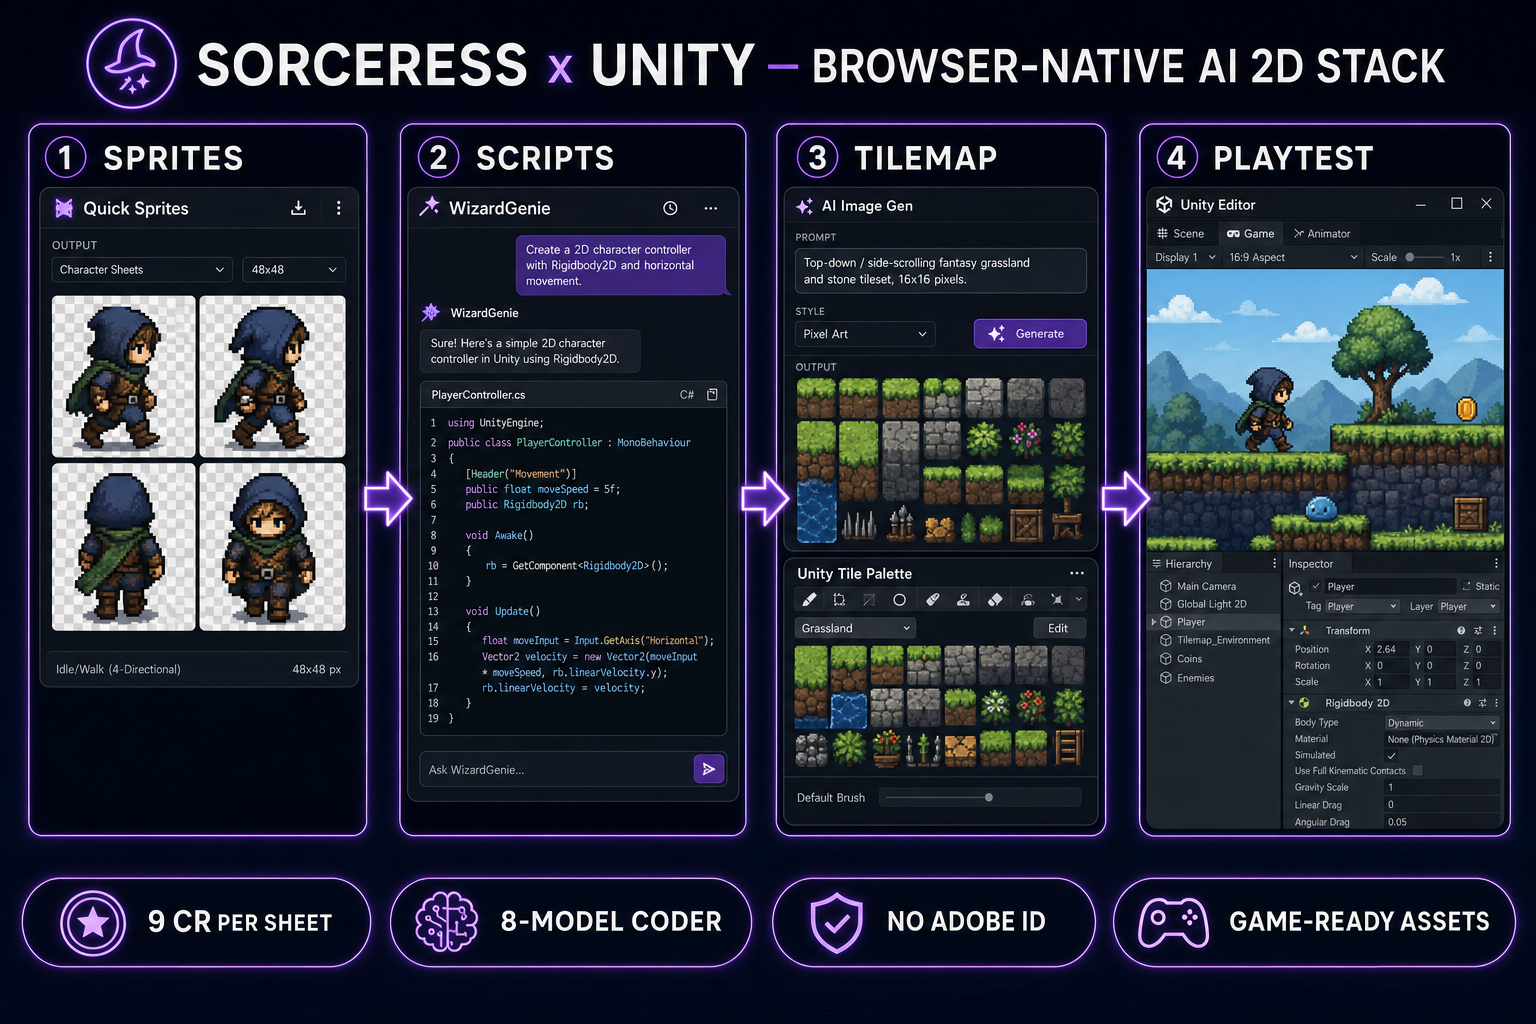
The browser-native AI stack for how to make a 2D game in Unity is four Sorceress tools, each chosen because the Unity Editor does not ship an equivalent for free. Sorceress Quick Sprites generates animated pixel-art sprite sheets from a text prompt at CREDITS_PER_GEN = 9 credits per generation (verified at line 21 of the live /quick-sprites page source on May 30, 2026), routed through the Retro Diffusion rd-animation model. Sorceress AI Image Gen generates the tileset and prop art with seven image models on tap (Nano Banana Pro, Nano Banana 2, GPT Image 2, Seedream 5 Lite, Flux 2 Pro, Z-Image Turbo, Grok Imagine), verified against IMAGE_MODELS at lines 669–676 of src/app/_home-v2/_data/tools.ts. Sorceress WizardGenie writes the C# MonoBehaviour scripts with an eight-model picker (Claude Opus 4.7, Claude Sonnet 4.6, GPT-5.5, Gemini 3.1 Pro, DeepSeek V4 Pro, Kimi K2.5, Grok 4.2, MiniMax M2.7), verified against CODING_MODELS at lines 690–699 of the same file. Sorceress Sorceress Code wraps a Monaco-based editor for inline edits to those scripts before they land in Unity.
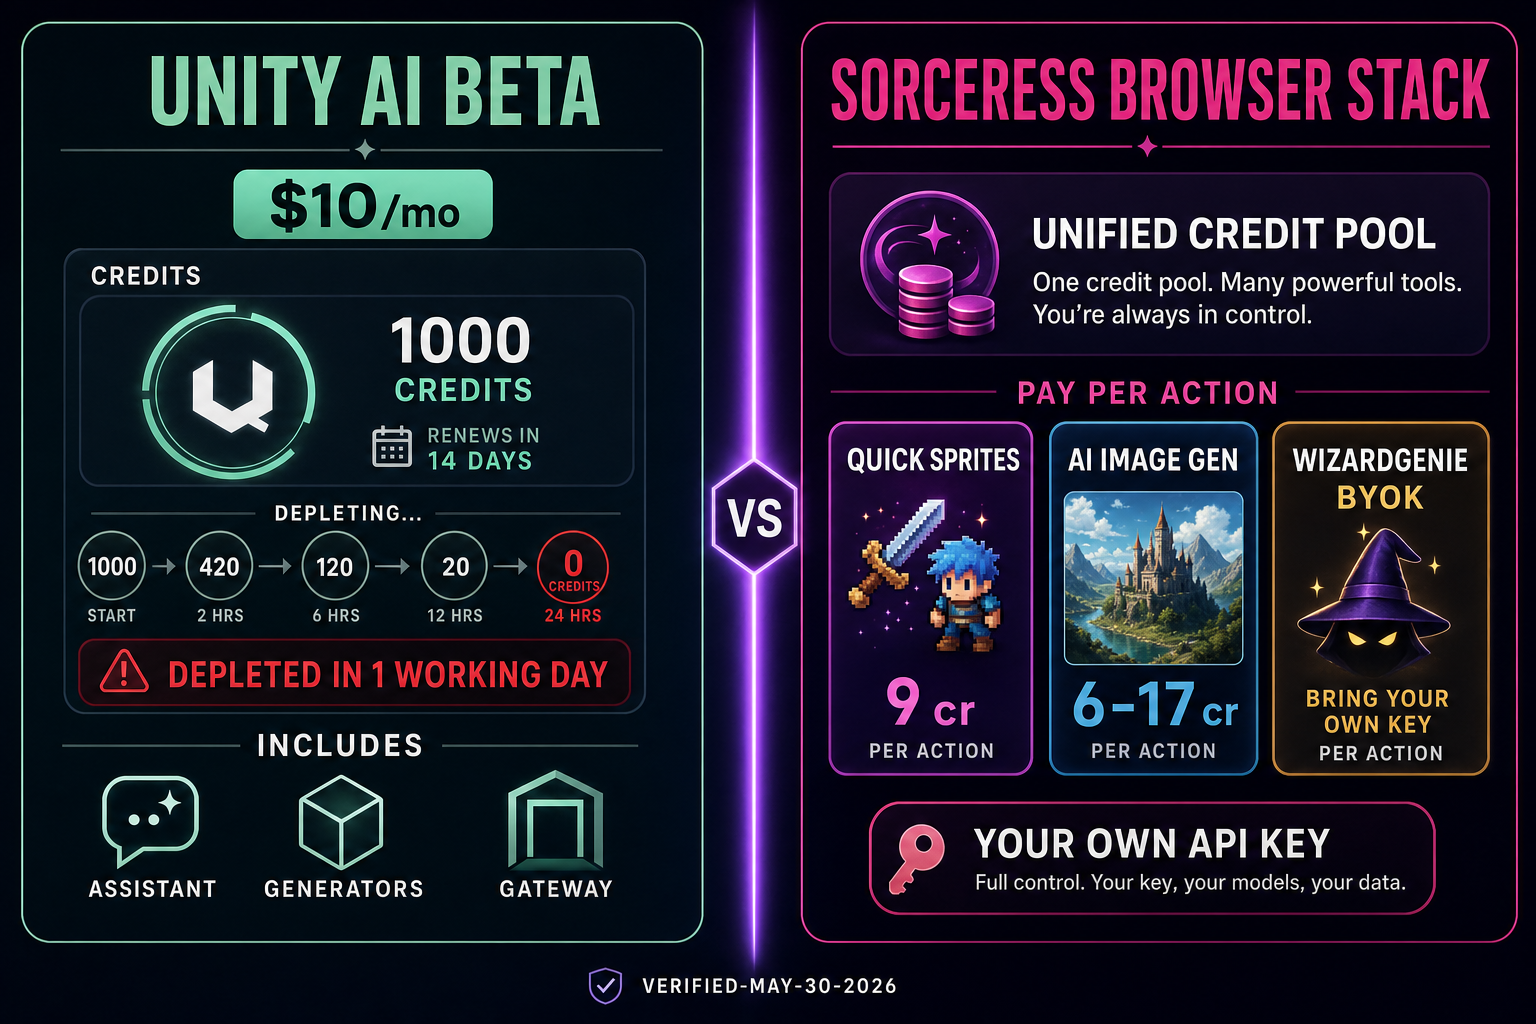
The point of stacking four tools rather than buying one $10-per-month subscription inside the Unity Editor is leverage at the per-asset level. Each tool runs on the same shared Sorceress credit pool, and image-side credits never get debited for code-side work. The stack is honest about what it does not do: it does not replace the Unity Editor, it does not edit .meta import files, it does not run inside the editor as a plugin. The developer still imports each generated asset into Unity manually, configures the Sprite Mode, sets the Pixels Per Unit, and slices the sheet. The AI stack reduces the time between I have an idea for a 2D game in Unity and I have a playable single-screen prototype from a weekend of asset hunting to about two hours of focused work.
How to make a 2D game in Unity in five steps
The five-step pipeline below is the same one a small studio uses with a junior pixel artist, with the prompt and generation steps replaced by browser-native AI. The order matters: target resolution and project setup come before generation, generation comes before C# scripting, scripting comes before playtest. Every step inherits constraints from the earlier ones, which is why how to make a 2D game in Unity is almost always a five-step ordered list rather than a parallel checklist.
Step 1: Set up the Unity 6.3 LTS project
Download Unity Hub, install Unity 6.3 LTS, and create a new project from the 2D (Built-In Render Pipeline) template. The 2D template pre-configures the editor with the right defaults for sprite-first work: the Project window opens in 2D mode, the Scene camera defaults to orthographic projection, and the 2D Tilemap and 2D Physics packages are installed via the Package Manager. Set the project’s color space to Linear under Edit > Project Settings > Player > Other Settings if the art style is going to use any modern shader; pixel art at integer Pixels Per Unit can stay on Gamma. Create three folders inside Assets: Sprites, Scripts, and Tilemaps. Everything downstream lands in one of those three.
Step 2: Generate the player sprite sheet in Quick Sprites
Open Quick Sprites in a browser tab. The three animation styles verified in the live /quick-sprites page source on May 30, 2026 are Four Angle Walking (a consistent four-direction four-frame walking cycle of a humanoid character at 48×48), Small Sprites (a six-row layout with right, left, arms, look, surprise, and lay-down poses at 32×32), and VFX Effects (single-direction loops for fire, explosions, lightning between 24×24 and 96×96 on a square aspect). Type a prompt that names the character, the era, and the palette anchor — pixel knight, NES era, 4-color palette, walking, top-down view, transparent background is a complete prompt for the four-angle preset. Each generation costs nine credits and runs against the Retro Diffusion rd-animation model on Replicate. Output is a packed PNG sprite sheet with one row per direction and one column per frame.
Step 3: Generate the tileset and props in AI Image Gen
Open AI Image Gen. Pick a model from the seven on the rail — Nano Banana 2 is the workhorse default at 9 credits for 1K, 12 credits for 2K, 17 credits for 4K; Flux 2 Pro at 6 credits plus 3 credits per reference image is the right pick when style consistency across multiple tiles matters. Generate the tilesheet as a single 4K image with a clean grid layout described in the prompt — side-scrolling platformer tileset, 32x32 grid, grass platform, dirt edges, stone walls, parallax forest background, retro pixel-art palette. AI Image Gen will not snap pixels onto a clean grid by itself; for grid-aligned tile output for Unity’s Tilemap, route the AI tile sheet through Tileset Forge as a second step. The same approach handles props, collectibles, hazards, and parallax background layers.
Step 4: Write the MonoBehaviour scripts with WizardGenie
Open WizardGenie in a browser tab or the Windows desktop installer. Pick the planner-executor pairing that matches the budget: Claude Opus 4.7 ($5 input per million tokens, $25 output per million tokens, verified against the live Anthropic API pricing on May 30, 2026) as the planner, DeepSeek V4 Pro ($0.435 input, $0.87 output per million tokens at the permanent 75% discount that became official May 31, 2026, verified against the live DeepSeek API pricing on May 30, 2026) as the executor. The cost ratio runs roughly one-fifth of a single-frontier setup for the same coding throughput. Prompt the planner with the full game brief in one message — build me a 2D platformer player controller in C# for Unity 6.3 LTS, target a Rigidbody2D with Capsule Collider 2D, add WASD movement at five units per second, add space-bar jump with eight-unit force, ground detection via a child GroundCheck transform, freeze rotation Z, no double jump yet. WizardGenie writes a complete PlayerController.cs file the developer can paste into Assets/Scripts.
Step 5: Build the scene and playtest
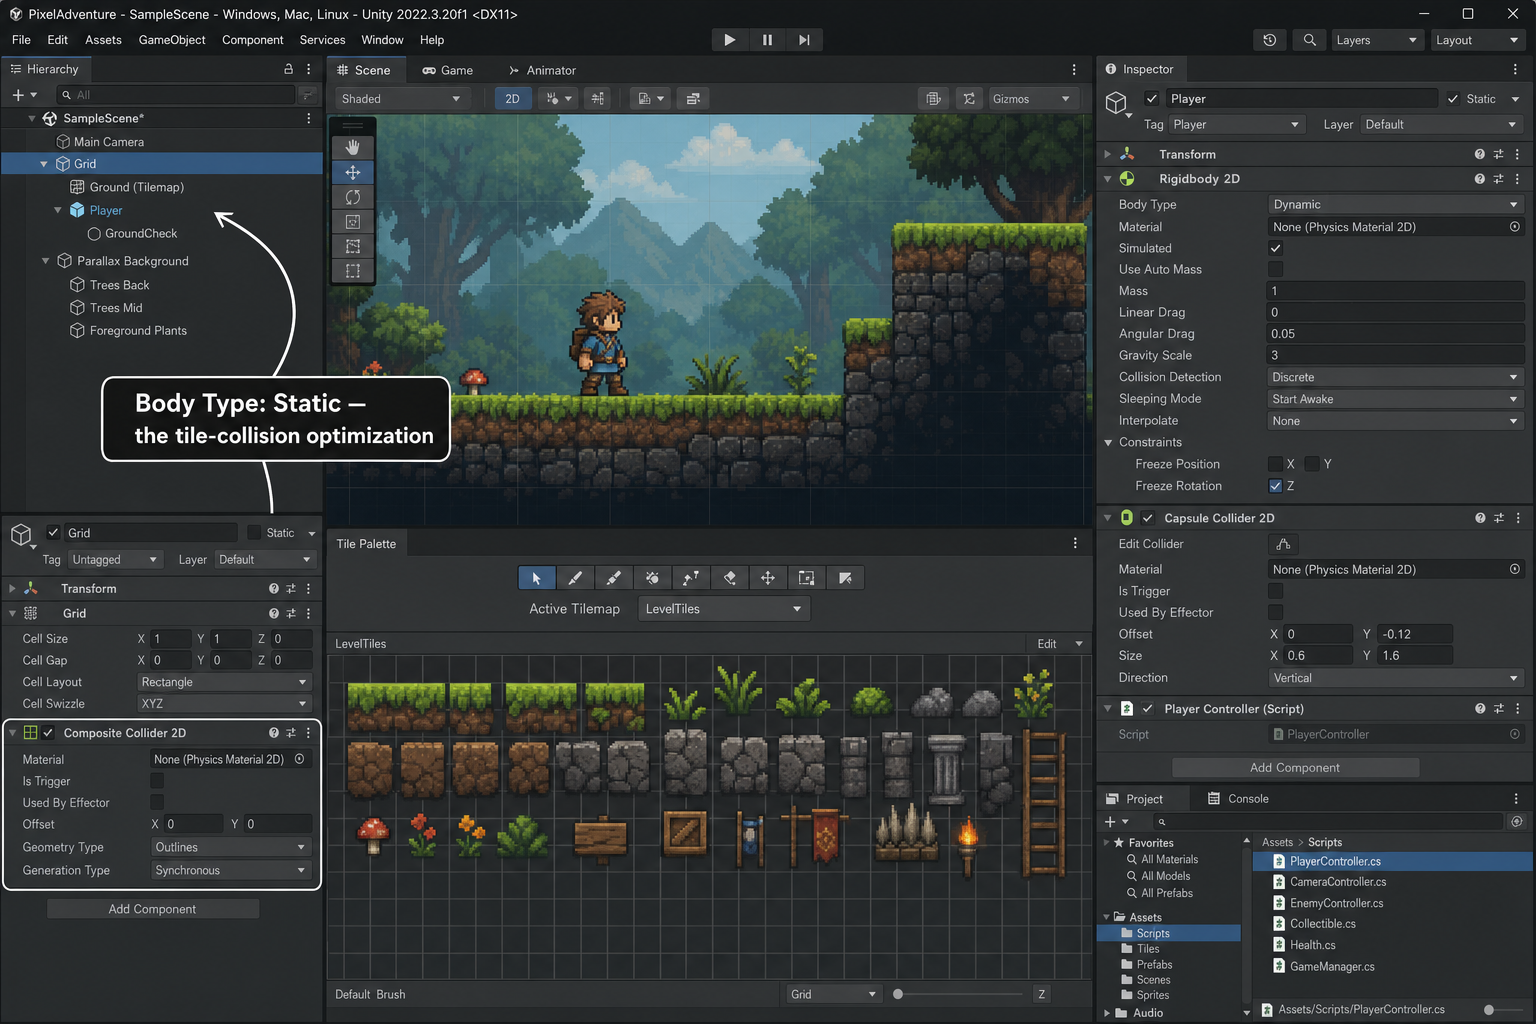
Drop the sprite sheet from Step 2 into Assets/Sprites. Select it, set Texture Type to Sprite (2D and UI), Sprite Mode to Multiple, Pixels Per Unit to 32 (or 48 to match the Four Angle Walking preset), Filter Mode to Point (no filter), and apply. Open the Sprite Editor, click Slice, set Grid By Cell Size to the sheet’s frame dimensions, slice, apply. Repeat for the tileset. In the Hierarchy, right-click 2D Object > Tilemap > Rectangular to create a Grid with a Tilemap child; rename the Tilemap Ground. Add Tilemap Collider 2D and Composite Collider 2D components to the Ground, set its auto-added Rigidbody 2D to Body Type Static, and check Used By Composite on the Tilemap Collider. Open Window > 2D > Tile Palette, create a palette named LevelTiles, drag the sliced tiles in, and paint the level. Drop the player sprite into the Scene, attach a Rigidbody 2D (Body Type Dynamic, Gravity Scale 3, Freeze Rotation Z checked), a Capsule Collider 2D, and the PlayerController.cs script. Press Play.