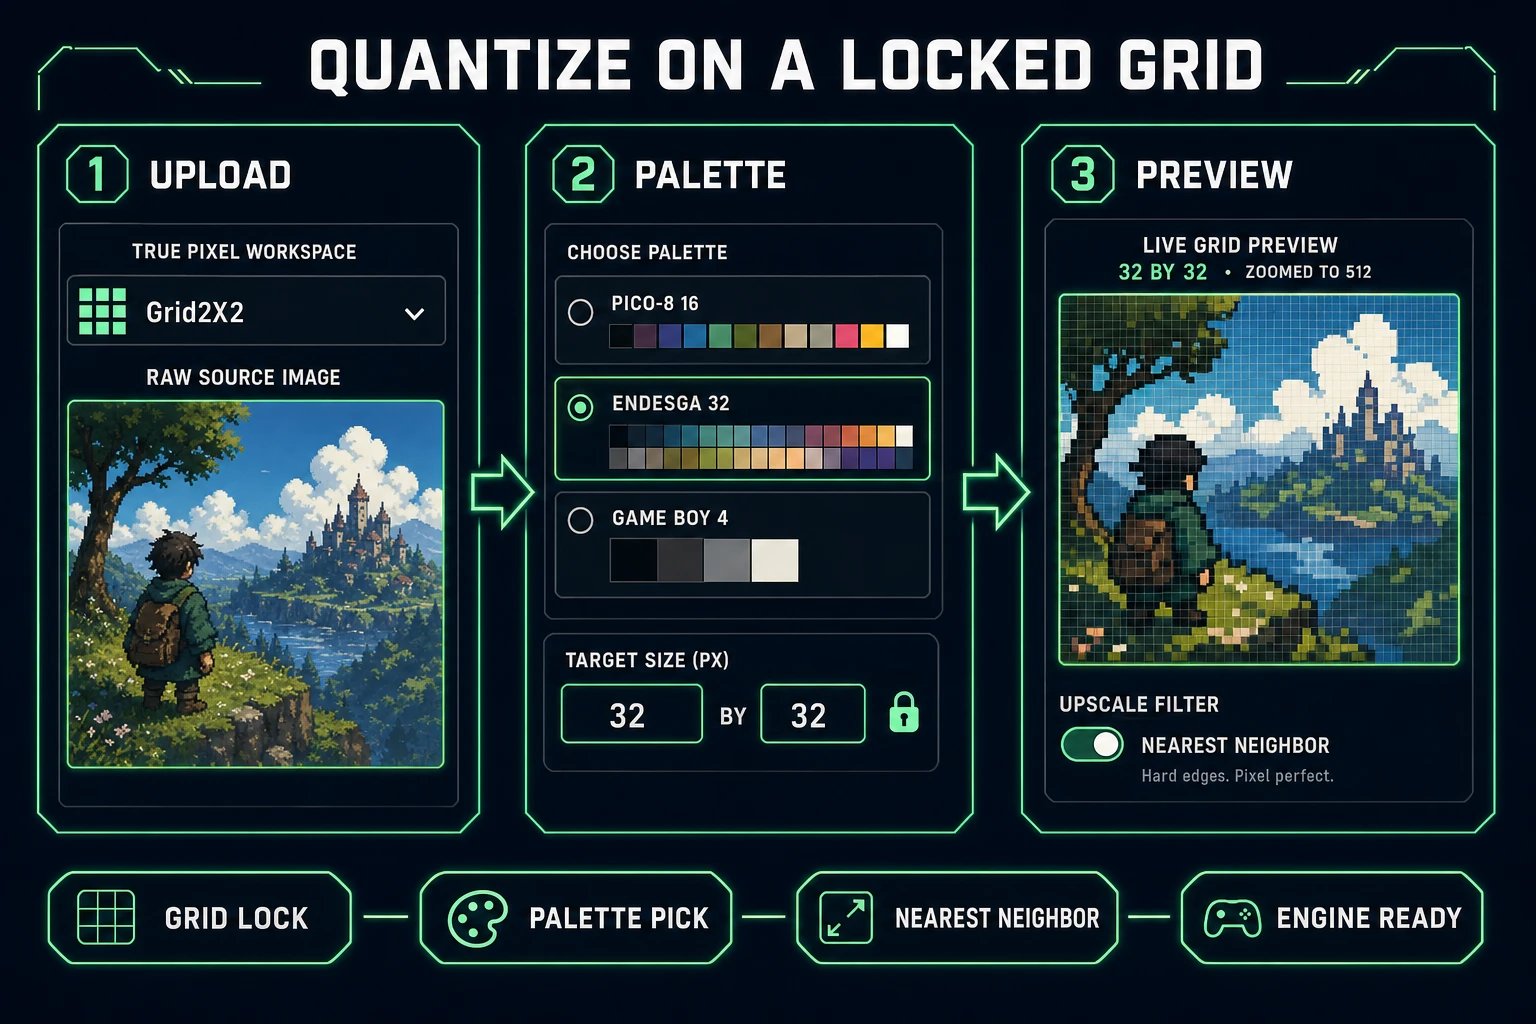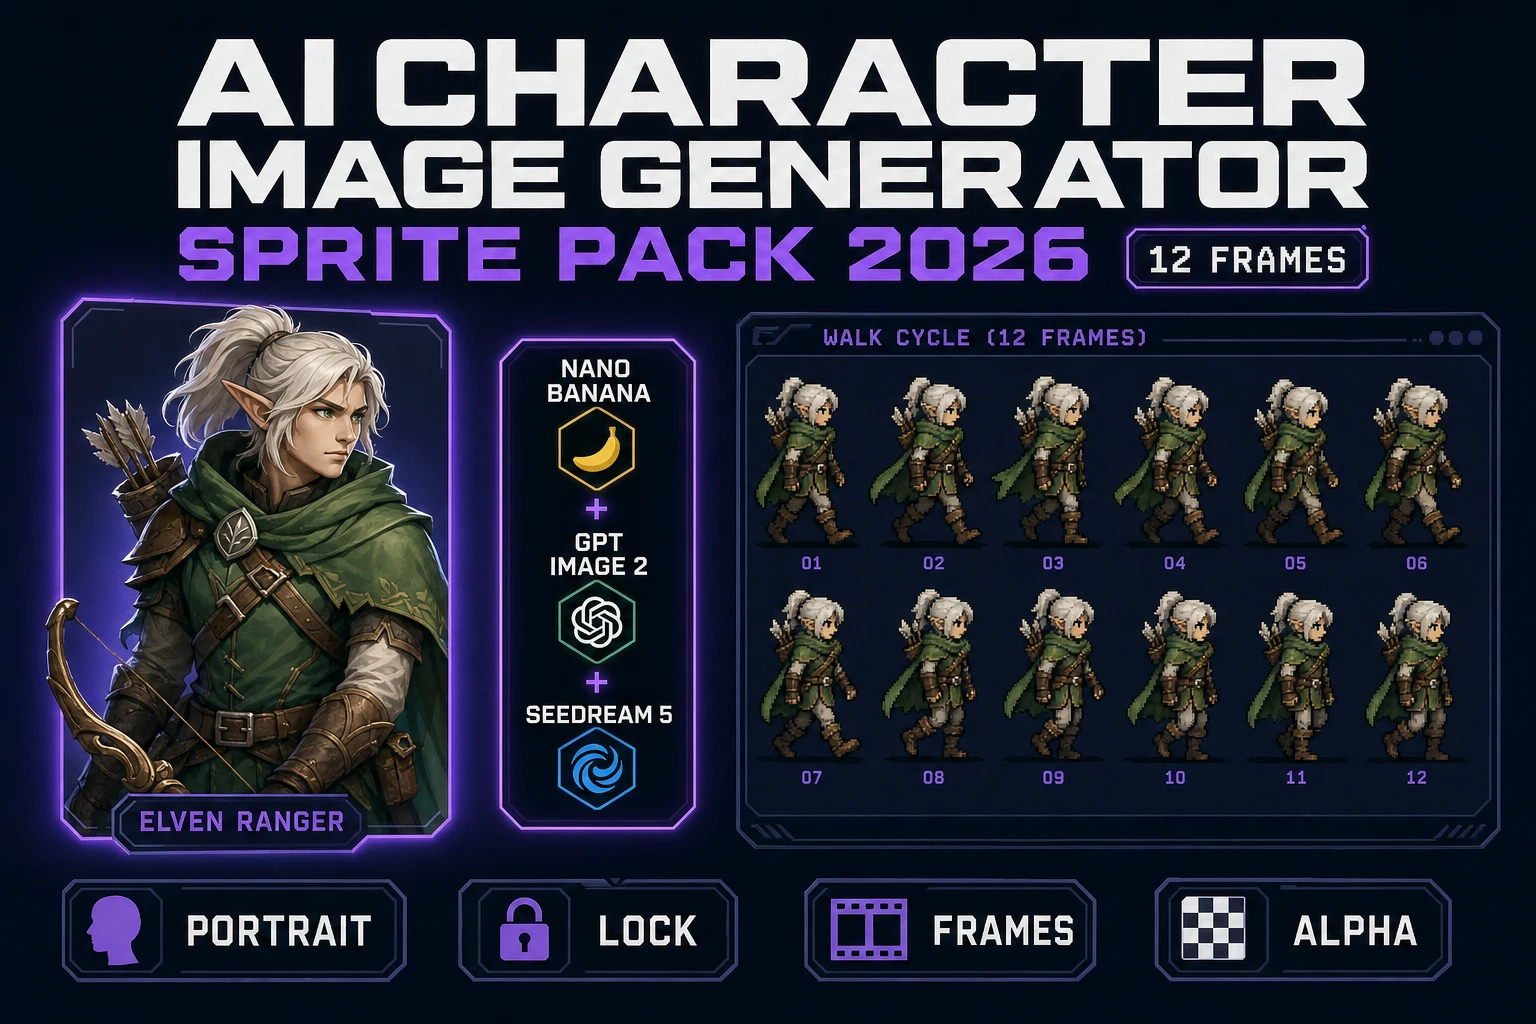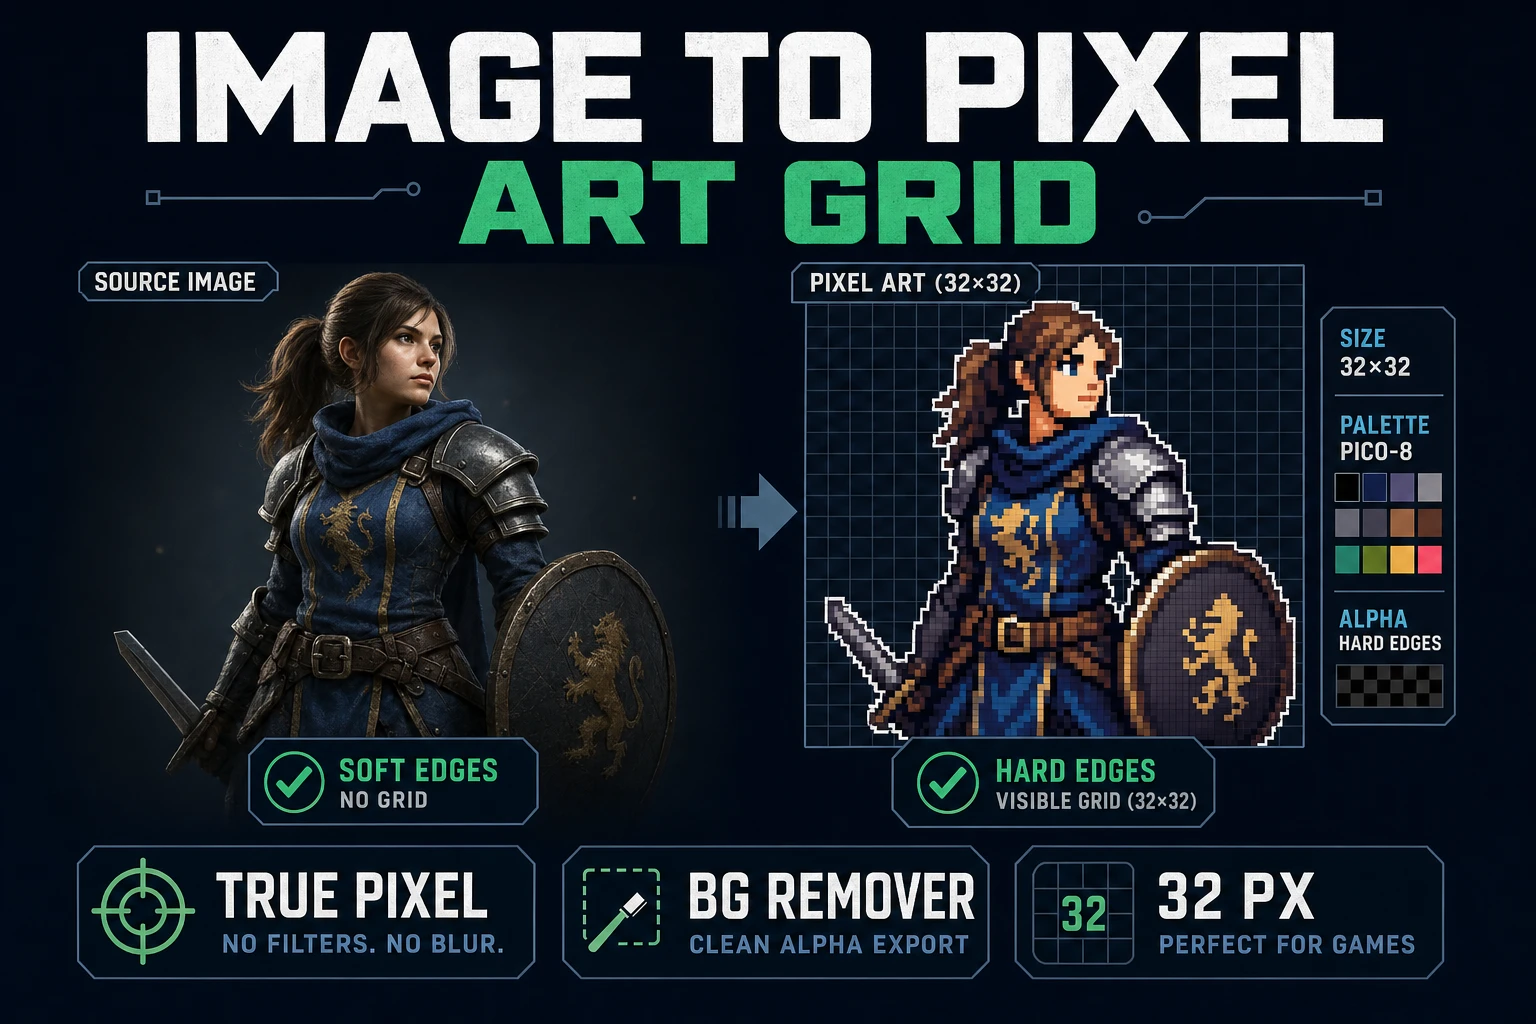
Fitting a source image to a pixel art grid is a different job than making an image “look pixelated.” A game engine cares about one thing: does every pixel of the exported sprite land exactly on a tile cell so the tilemap does not shear at the seams? Get the grid wrong and every scene shows a one-pixel jitter that no filter later can hide. Get it right and the same PNG is drop-in for Phaser, Godot, Unity, or an HTML canvas game with zero engine-side surgery.
What image to pixel art grid actually means for tiles
Type “image to pixel art grid” into a search engine and two very different reader groups show up. The first wants a decorative pixelated Instagram filter — mosaic-style, no engine involvement, print it on a mug. The second is a game developer who needs a source image to land on an integer pixel grid so a tilemap or sprite atlas can import it without seams. This howto is written for the second reader.
The distinction matters because a “pixelated” filter can round pixels any way it likes and still look artsy. A tile-ready pixel art conversion has three non-negotiables:
- A locked target resolution the artist picks up front — 16×16, 24×24, 32×32, 48×48, or 64×64 are the common tile sizes for indie games.
- A bounded color palette so the sprite reads as authored art instead of a random JPEG downsample.
- A hard alpha edge when the subject is a character or item — no anti-aliased halo bleeding into neighboring tiles.
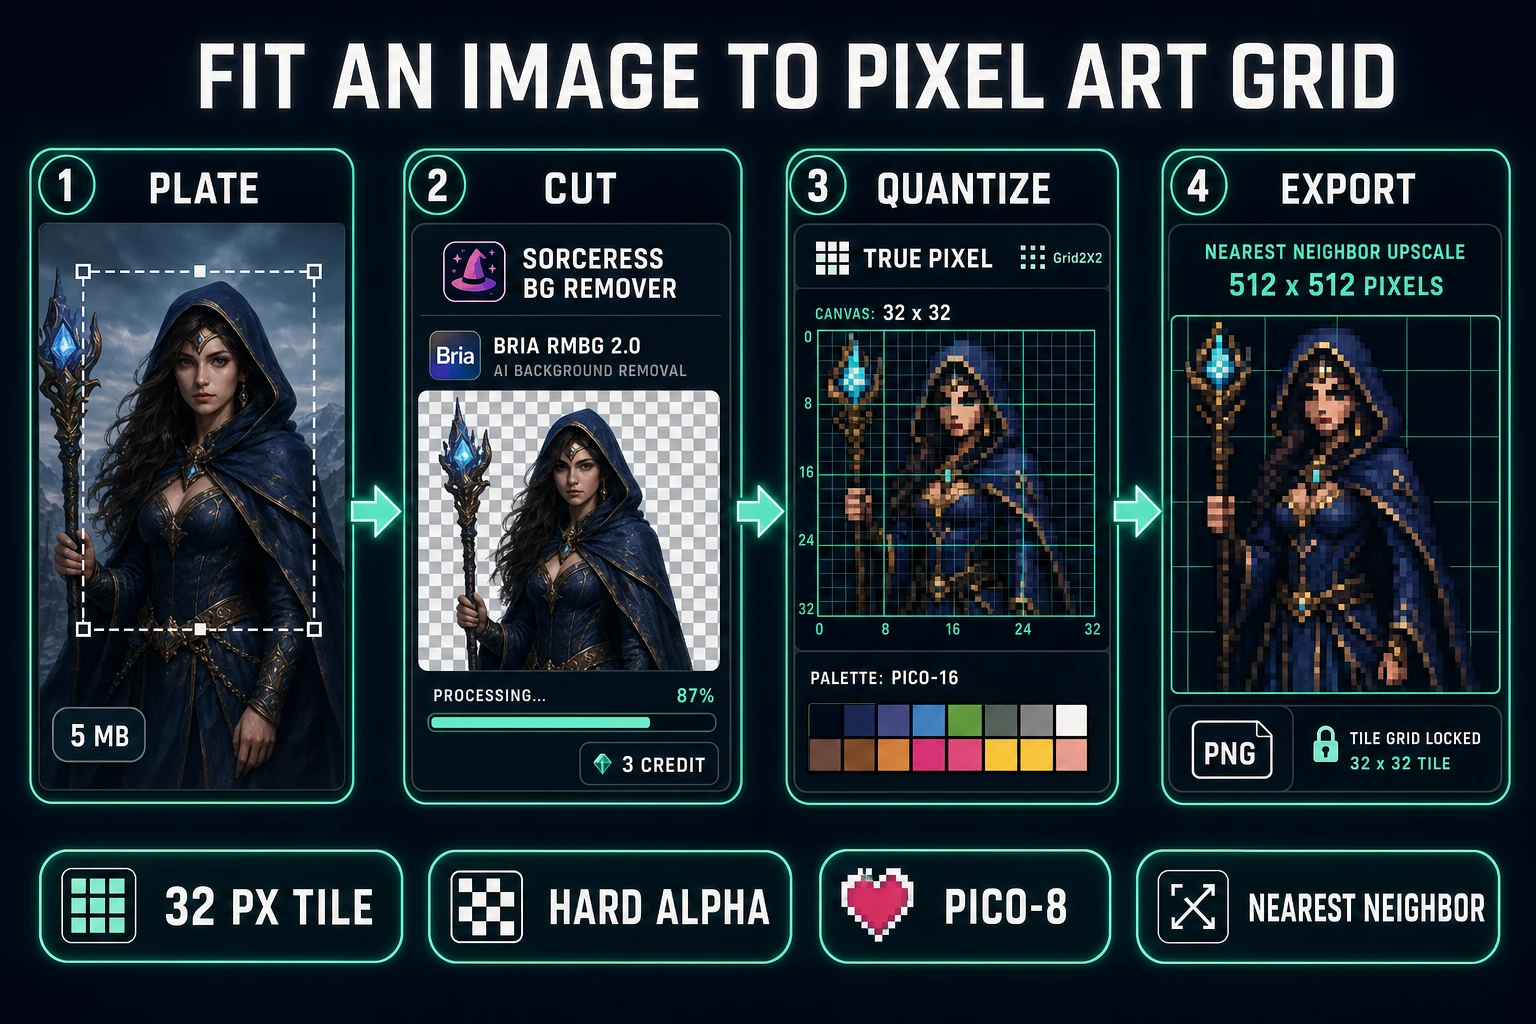
Sorceress ships two tools that together handle this pipeline in the browser without any Photoshop-scale software: BG Remover for the alpha plate and True Pixel for the grid quantization. The rest of this howto walks the four ordered steps — plate, cut, quantize, export — and explains what each dial does under the hood, so a mistake in step one does not force a redo of step four.
Pick a tile size before you upload
The single biggest reason a converted image ends up mis-aligned to a tilemap is that the artist skipped the “pick the target grid” step and let the tool guess. Do not let the tool guess. Pick the tile size from the game camera, not from the source photo, and set it once for the whole scene.
Concrete rules for a jam-scope project:
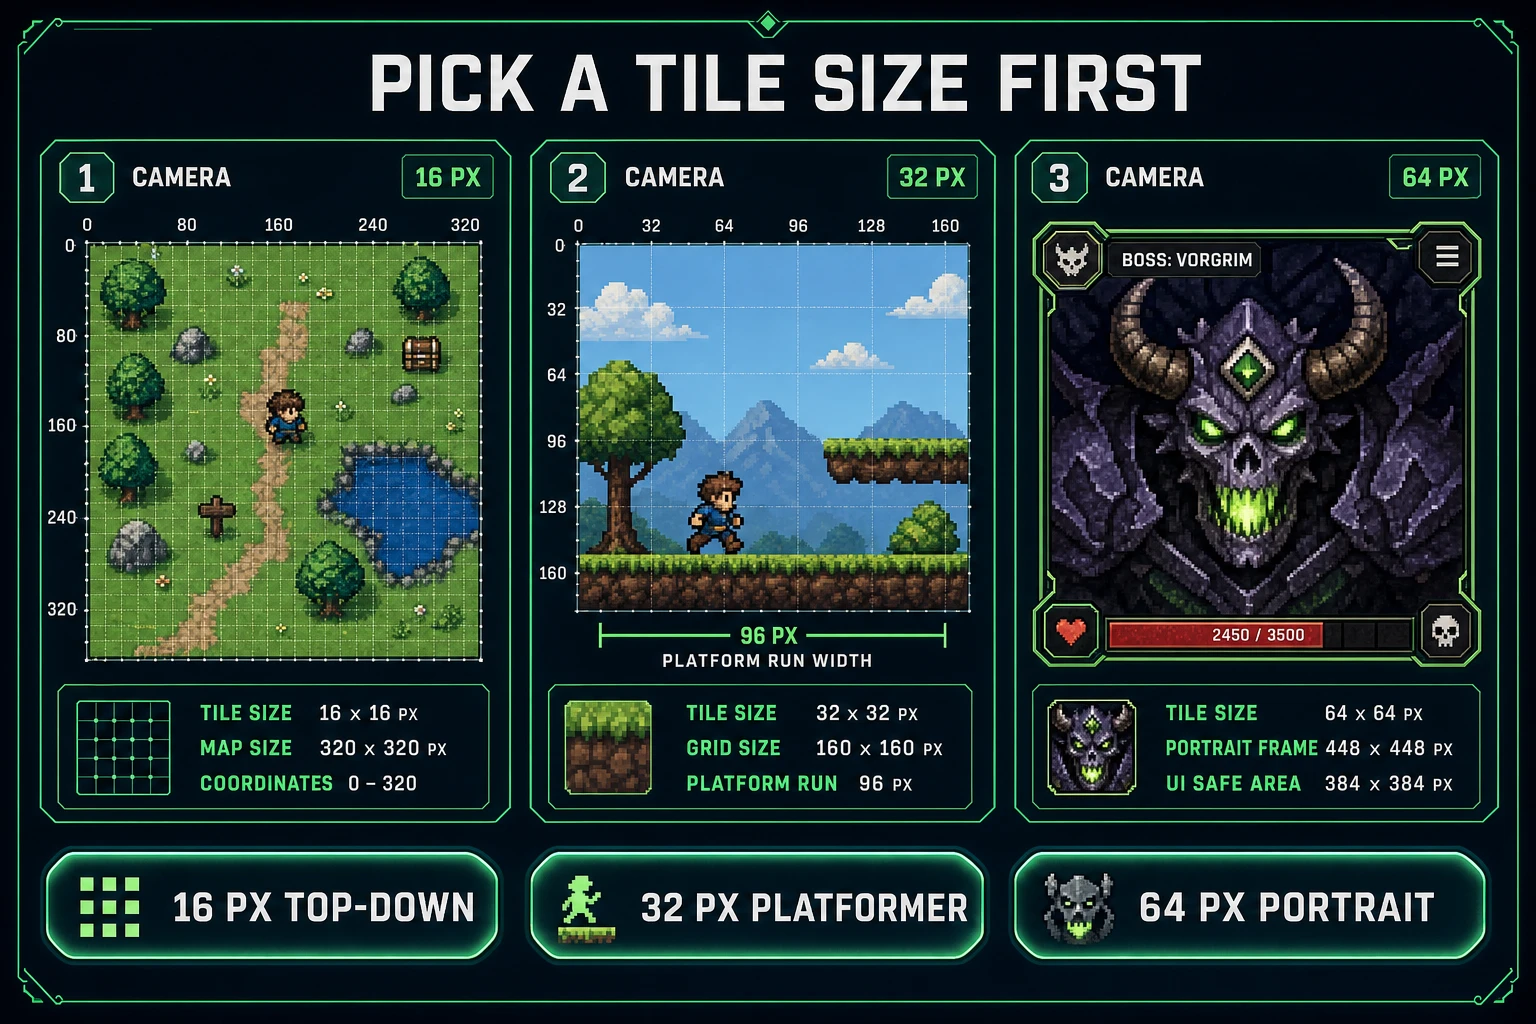
- Top-down retro (SNES-style dungeon crawler, Legend-of-Zelda-alike): 16×16 for terrain tiles, 16×16 or 24×24 for heroes and enemies. The camera is close and the reader expects a chunky look.
- Side-scrolling platformer: 32×32 for terrain, 32×32 to 48×48 for the hero. Big enough that walk cycles read clearly, small enough that a scene fits on the screen at native zoom.
- Portrait / UI card art: 64×64 or 96×96. This is not a world tile — it is a fixed panel — so the grid can be bigger without breaking scene continuity.
- Boss or full-body character screen: up to 128×128, single-sprite only. Do not use this for a walkable world.
Open True Pixel and check the header — a small emerald Grid2X2 icon and a live {targetWidth}×{targetHeight} readout appear once a source is loaded. The default is targetWidth = 64 and targetHeight = 64 (both declared in src/app/pixel-art/page.tsx, verified July 31, 2026). Override both to your chosen tile size before you touch the palette. If you are converting several sprites into the same scene, use the Profiles menu to save the target and palette together so every subsequent sprite lands on the same grid.
Two rules never worth breaking:
- The target grid is a property of the scene, not of the source photo. A 4-megapixel phone photo and a hand-drawn 500-pixel concept both quantize down to the same 32×32 cell if that is your world grid.
- Once locked, never change the target mid-atlas. Change it and every earlier sprite is a different size than the new one — the atlas will not align in-engine.
Cut the background if the plate is messy
Two source types show up in the “image to pixel art grid” queue and each takes a different path.
- Seamless tile or texture: a photo of grass, a stone wall, a wooden floor, a metal sheet, a concept illustration meant to tile in a tilemap. Skip BG Remover entirely and load the source directly into True Pixel. No transparency needed — the whole rectangle is the tile.
- Character, enemy, item, or prop: a hero photo, an object cutout, an NPC portrait. The subject must land on a transparent background so the sprite can composite over any tilemap. Route through BG Remover first, then hand the transparent PNG to True Pixel.
For the second case, the numbers to remember are hard-coded in the page source. BG_REMOVER_CREDITS is set to 3 and MAX_FILE_SIZE_MB is set to 5 in src/app/bg-remover/page.tsx (verified July 31, 2026). A batch of ten character plates is 30 credits, which is roughly $0.30 at the standard 100-credits-per-dollar rate. Anything over 5 MB is skipped with a warning banner, so downscale phone photos to about 2,048 pixels on the long side before you queue the run.
Under the hood the page posts to Replicate with model: "bria/remove-background", which resolves to Bria RMBG 2.0. That model returns 256-level alpha, not a binary cutout, which is generous with hair and fringe but occasionally too soft for pixel-art work. That is fine — the next tool in the pipeline handles the hard-edge pass, so BG Remover only needs to isolate the subject.
One nuance: if the sprite is going to sit on a black or very dark tilemap and RMBG returns a visible halo, the halo will show. Preview every cutout on a magenta-and-gray checkerboard before quantizing. If the halo is loud, re-shoot the source or crop tighter before spending nine credits on three retries — as covered in the related background remover AI howto.