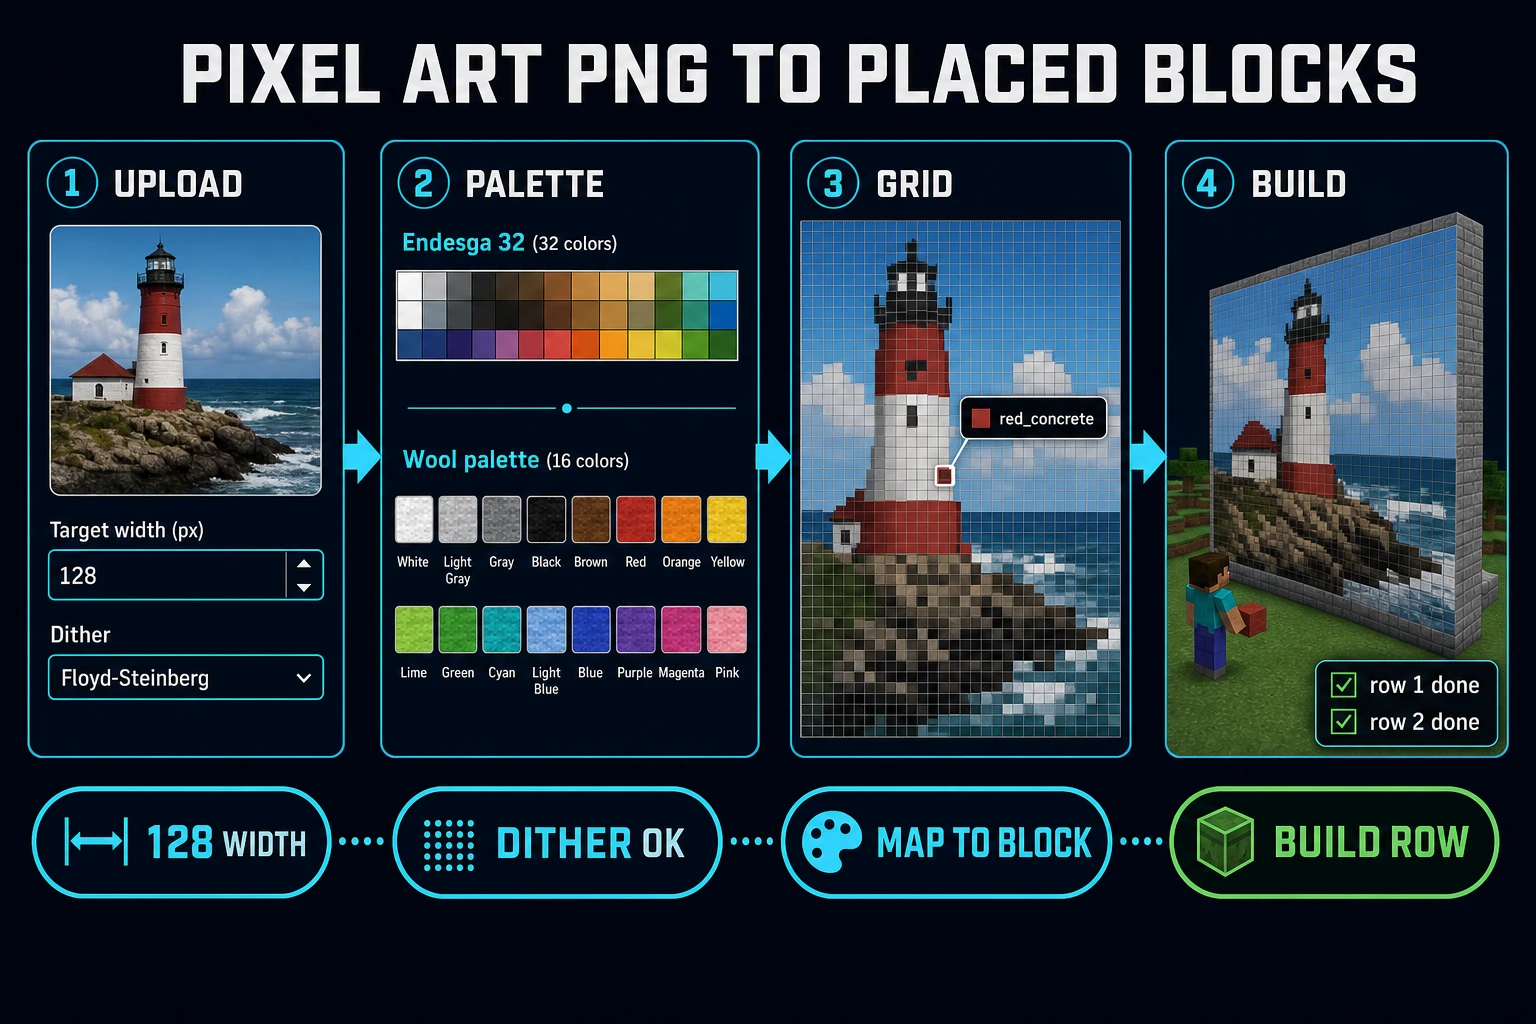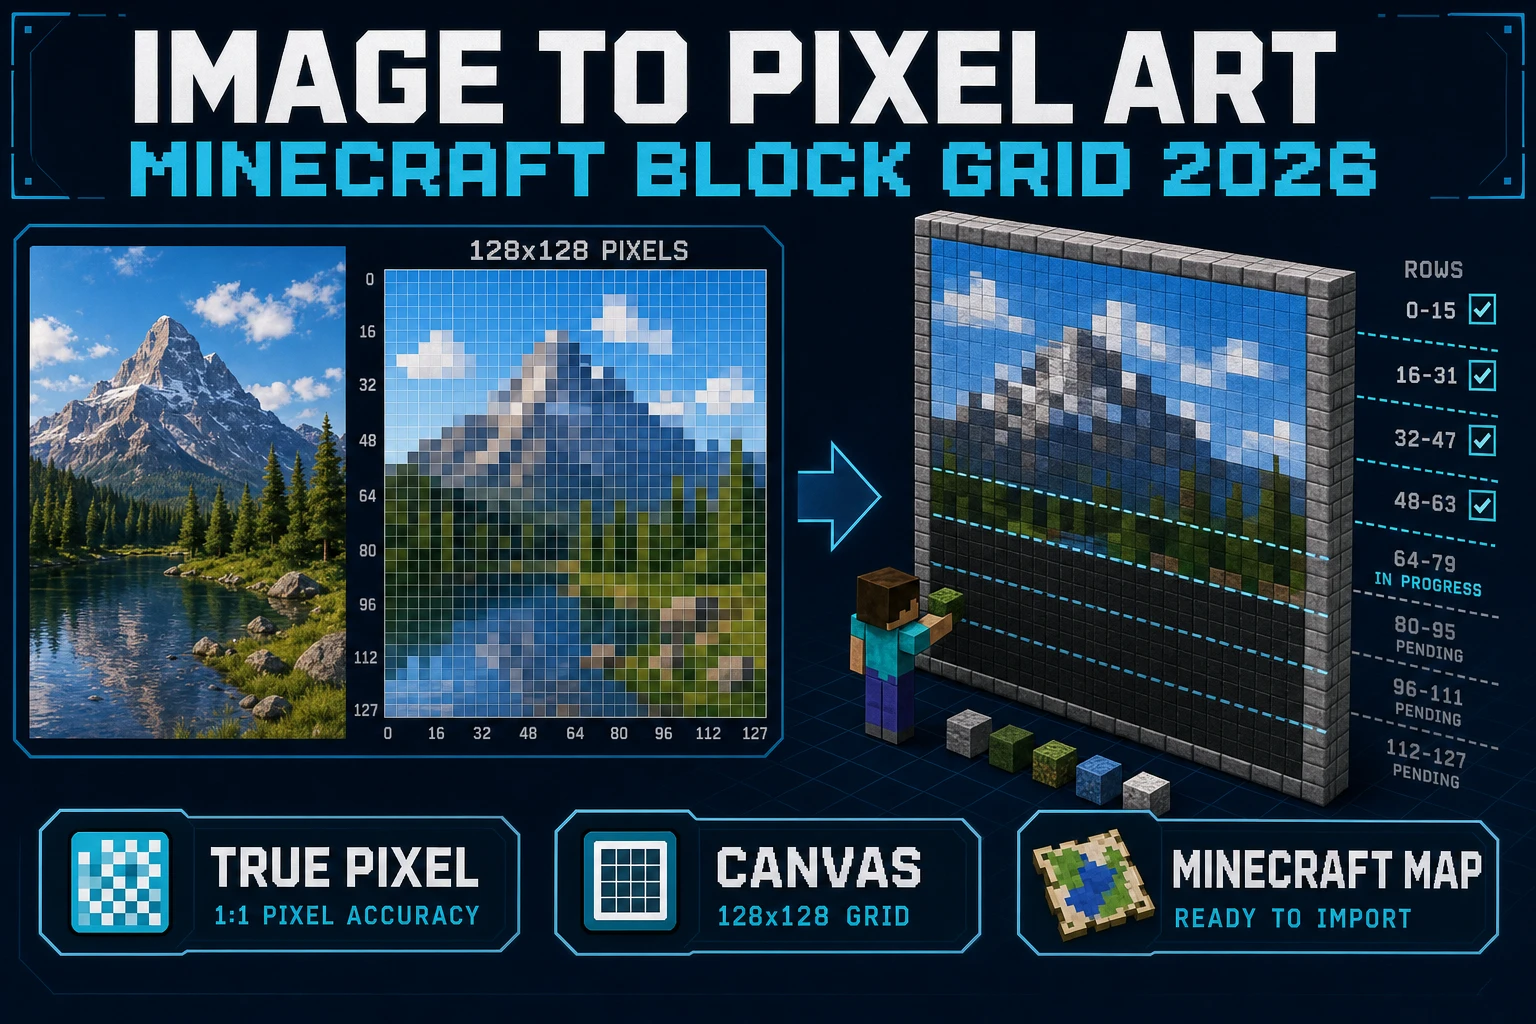
People typing image to pixel art minecraft into a search bar are almost never looking for another generic pixel-art converter that outputs a random palette. They want a workflow that ends inside Minecraft: a 128×128 pixel-art PNG that maps cleanly onto real blocks, a palette that lines up with wool or concrete so the placed build actually resembles the source, and a grid overlay they can build from row by row. A converter that skips those constraints wastes an afternoon because half the output pixels have no honest block to place.
Treat the browser conversion as the specification, not the artwork. If the PNG has 240 colors, no grid overlay, and a target width that has nothing to do with a Java map, the build session that follows will be a slog. The five-step pipeline below starts from the Minecraft side (map size, block palette) and works backward into True Pixel so the file that lands on disk is already build-ready.
What an image to pixel art minecraft search actually wants in 2026
The phrase image to pixel art minecraft clusters with two overlapping intents: single-map pixel art (the classic 128×128 build that fits under one Java map in an item frame) and multi-map mosaics for logos, character portraits, and community server art. In both cases the reader wants a PNG they can build from without inventing a new palette per pixel. A converter that returns a beautiful but 240-color image forces the builder to guess which of the 16 wool colors is closest, which is exactly the failure mode this workflow prevents.
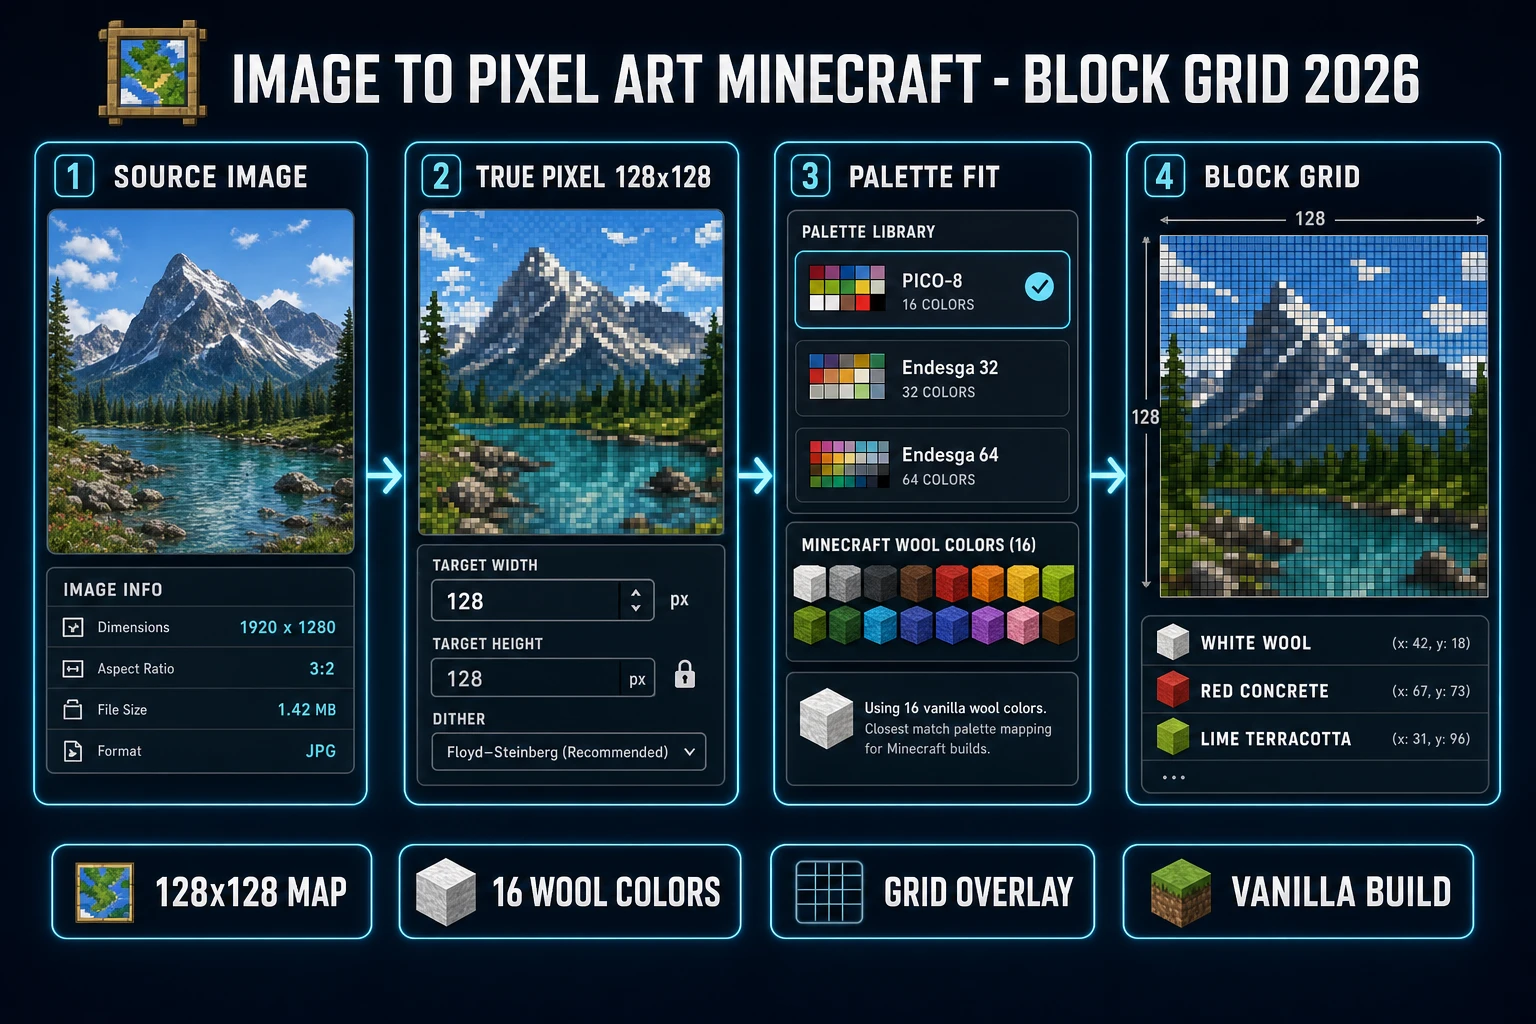
The Sorceress angle here is honest: True Pixel already exposes the two levers that matter for Minecraft output — target width in exact pixels and a limited-color palette with dither modes — plus a grid overlay for placement. It does not ship a Minecraft-block palette out of the box, and this article does not pretend it does. What it does ship (verified 2026-08-04 in src/app/pixel-art/page.tsx lines 24–105) is the closest neighbors: PICO-8 (16), SWEETIE-16, Endesga 32, Game Boy, CGA, NES (54), Grayscale (8), and 1-Bit. Endesga 32 and NES 54 are the two most useful defaults for Minecraft work because they hit saturated primaries that map to wool and concrete blocks cleanly.
Search intent here is informational but ship-shaped. Readers do not want a lecture on pixel art history. They want to know, in order: how big should the PNG be, what colors to allow, and how the grid overlay comes out. This article answers those three questions with today's numbers and stops.
Two output paths: single-map pixel art (128×128) and multi-map mosaic
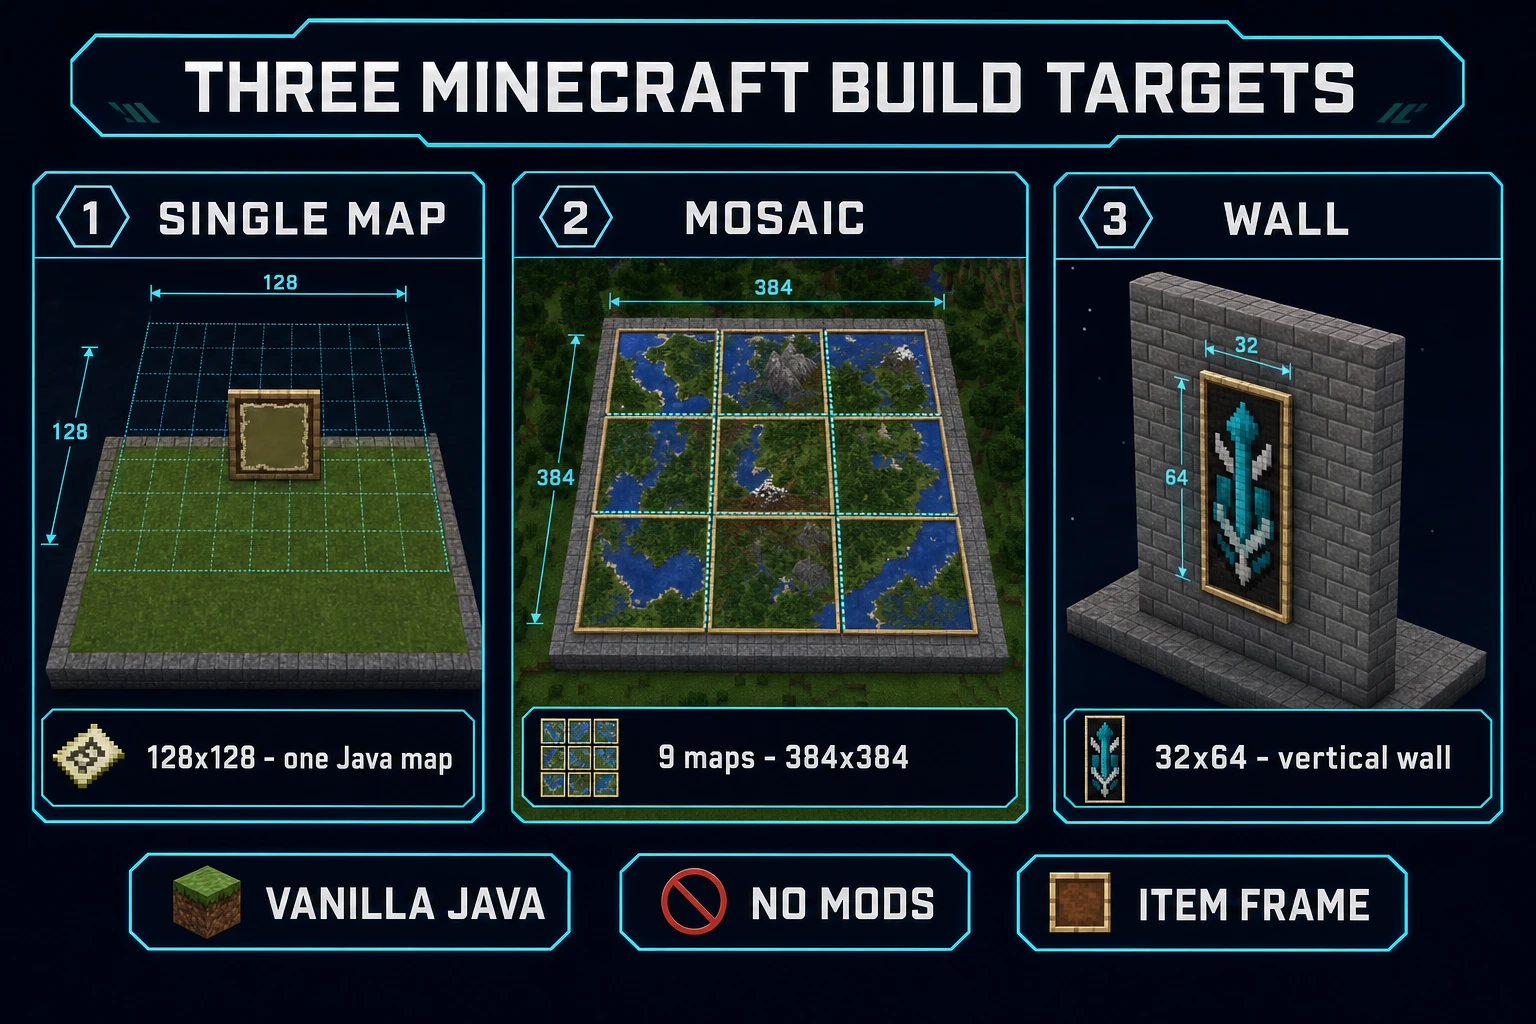
Every honest image to pixel art minecraft workflow forks on the very first decision: single map or mosaic. Both are vanilla Java Edition and Bedrock Edition features (verified 2026-08-04 against the Minecraft Wiki Map article), and both fit the same converter, but the target width in True Pixel differs.
- Single-map pixel art (128×128). A standard Java map at zoom 0/4 shows 128×128 pixels with one block per pixel. This is the simplest end-to-end build and the honest starting point for a first attempt. Target width in True Pixel: 128. Build surface: a 128×128 flat plot facing upward. Rendering: hold an empty map at the center, then place the map in an item frame to freeze the view.
- Multi-map mosaic. Stitch several 128×128 maps into a larger image. A 3×3 mosaic covers 384×384 (nine maps). A 4×4 covers 512×512. Target width in True Pixel: 128 × mosaic width. The build surface scales the same way. Each sub-region needs its own map crafted and placed, but the underlying blocks are placed as one continuous build. Mosaics are how community servers reproduce logos, character portraits, and full-screen images.
- Vertical block wall (no map). If the goal is decoration inside a base rather than a mapped viewer image, skip the map math entirely. Target width becomes the actual pixel count you want on the wall (32, 64, 96, whatever fits the space). This path drops the item-frame step and just uses the pixel-art PNG as a placement guide.
The mosaic path is not "harder" in the converter — True Pixel handles a 384×384 target the same way it handles 128×128 — but it is harder to build because the number of blocks scales quadratically. A single map is 16,384 blocks. A 3×3 mosaic is 147,456 blocks. Pick the target that matches how much time you actually have.
The Sorceress image to pixel art minecraft pipeline in five steps
Every Sorceress image to pixel art minecraft run has the same five steps, and each step maps to a specific tool or a specific in-game action:
- Pick the target. Single map, mosaic, or wall. Write down the exact pixel count you need before opening any tool.
- Convert on True Pixel. Upload the source, set the target width, pick a 32- or 54-color palette, and enable a dither mode. Save the PNG.
- Palette-map to real blocks. Walk the palette swatches once, write down the closest wool, concrete, or terracotta block per color. This is a five-minute exercise, not a research project.
- Print the grid. Enable the grid overlay in True Pixel, export at 4× or 8× so the block boundaries are unmistakable, and keep the file open on a second screen or tablet.
- Build row by row. Fly-place from the bottom-left corner outward. Do not build the whole silhouette first and then color it in; that path invents its own drift.
Only step 2 touches AI credits, and only if you use the optional chroma-key backend for background cleanup. Base pixel-art conversion runs locally at 0 credits (verified 2026-08-04 in src/app/pixel-art/page.tsx line 2437, where creditCost is 0 in local mode). Steps 1, 3, 4, and 5 are all planning or in-game work.
Keep the file names boring at every step (hero_portrait_source.png, hero_portrait_128.png, hero_portrait_128_grid.png, hero_portrait_palette_map.txt) so a future you three days from now can still tell which conversion produced which build.
Step 1 — pick the target: single map, mosaic, or vertical block wall
Open a plain text file named minecraft_pixelart_v1.txt and write exactly two lines:
- Target: single-map, mosaic 3×3, mosaic 4×4, or wall.
- Pixel count: 128×128, 384×384, 512×512, or the wall size in blocks.
Those two lines carry through the rest of the pipeline. If the source image is a portrait, single-map is almost always the right call for a first pass because the block count is small enough to finish in one build session. If the source is a landscape or logo with wide horizontal detail, a 3×2 mosaic (384×256) reads better than trying to squeeze the same image into a square 128×128 and losing the shoulders.
For a first build, resist the mosaic urge. A single 128×128 map is 16,384 placed blocks. That is already a long session at 20 blocks per minute (about 14 real hours if you play it out). Nine maps at 147,456 blocks is a project, not a session. Ship the single map first and use what you learn to plan the mosaic.
If the source image is a screenshot from a game or film, verify you actually have the rights to reproduce it before spending 14 hours building. That is not a Sorceress-specific rule; it is Minecraft's own community guideline when you plan to display the build on a public server. For personal single-player builds, do whatever you want, but keep the copyright question in mind before pasting the file to a Discord.