Searchers who type auto-rig are not asking for a lecture on bone math. They want a static humanoid mesh to bend at the knees without opening a desktop DCC. This guide covers that bind on Sorceress in 2026: what auto-rig actually means, the free marker path, the flat-credit AI auto-rig button, weight paint, animation handoff, and the honest limits.
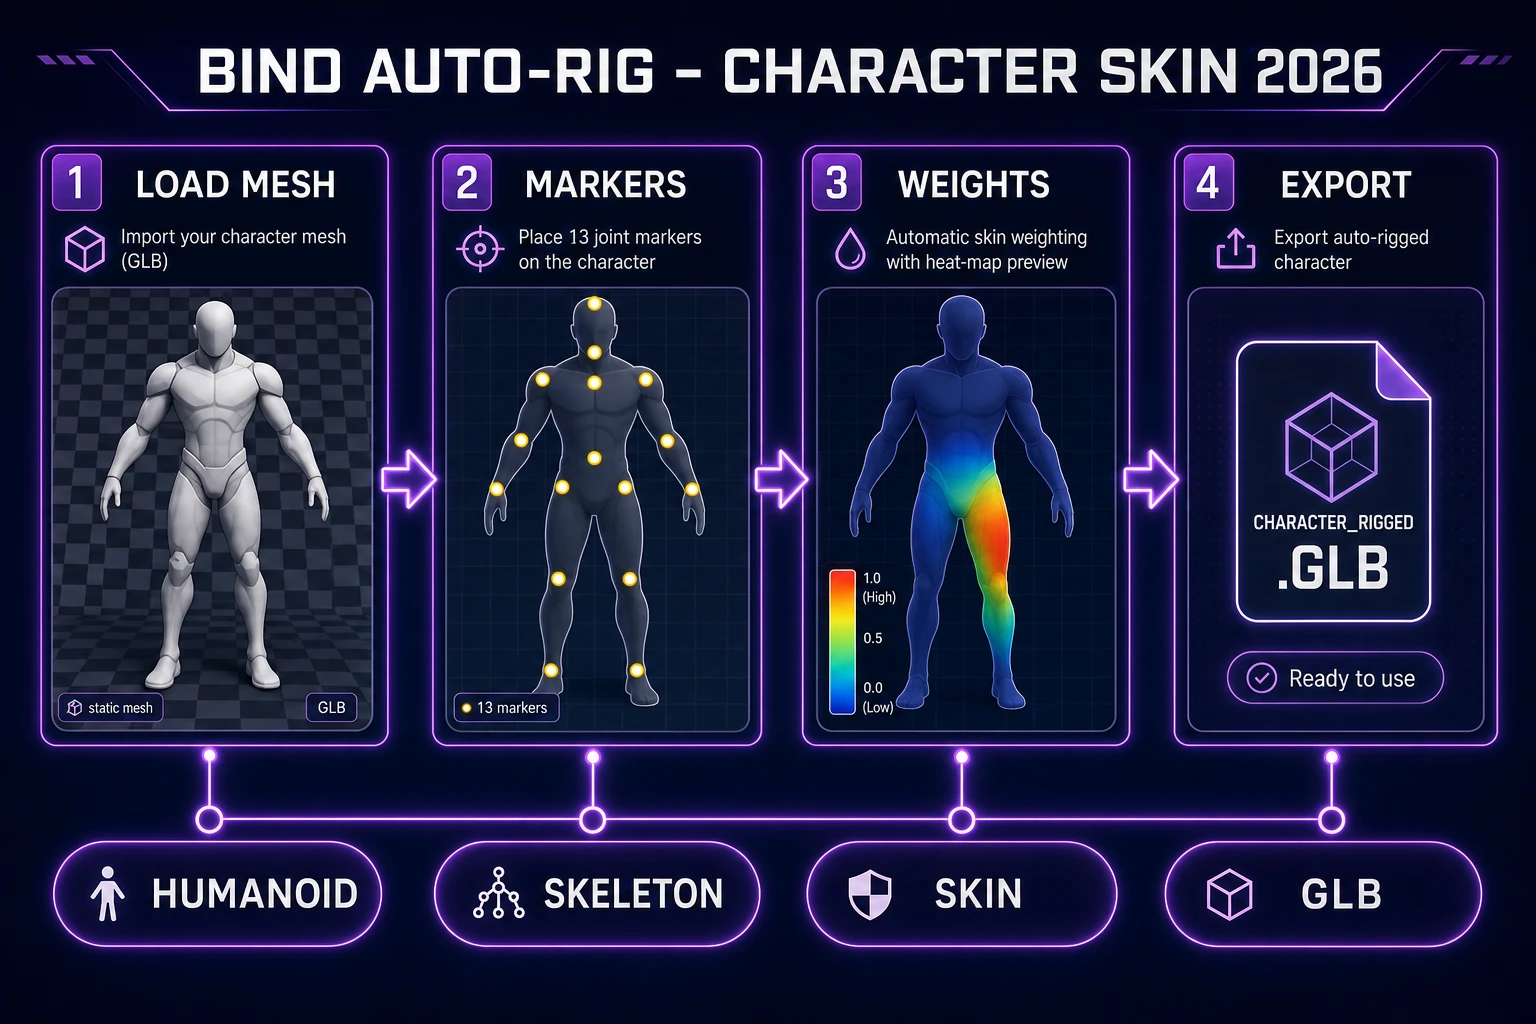
What auto-rig actually means
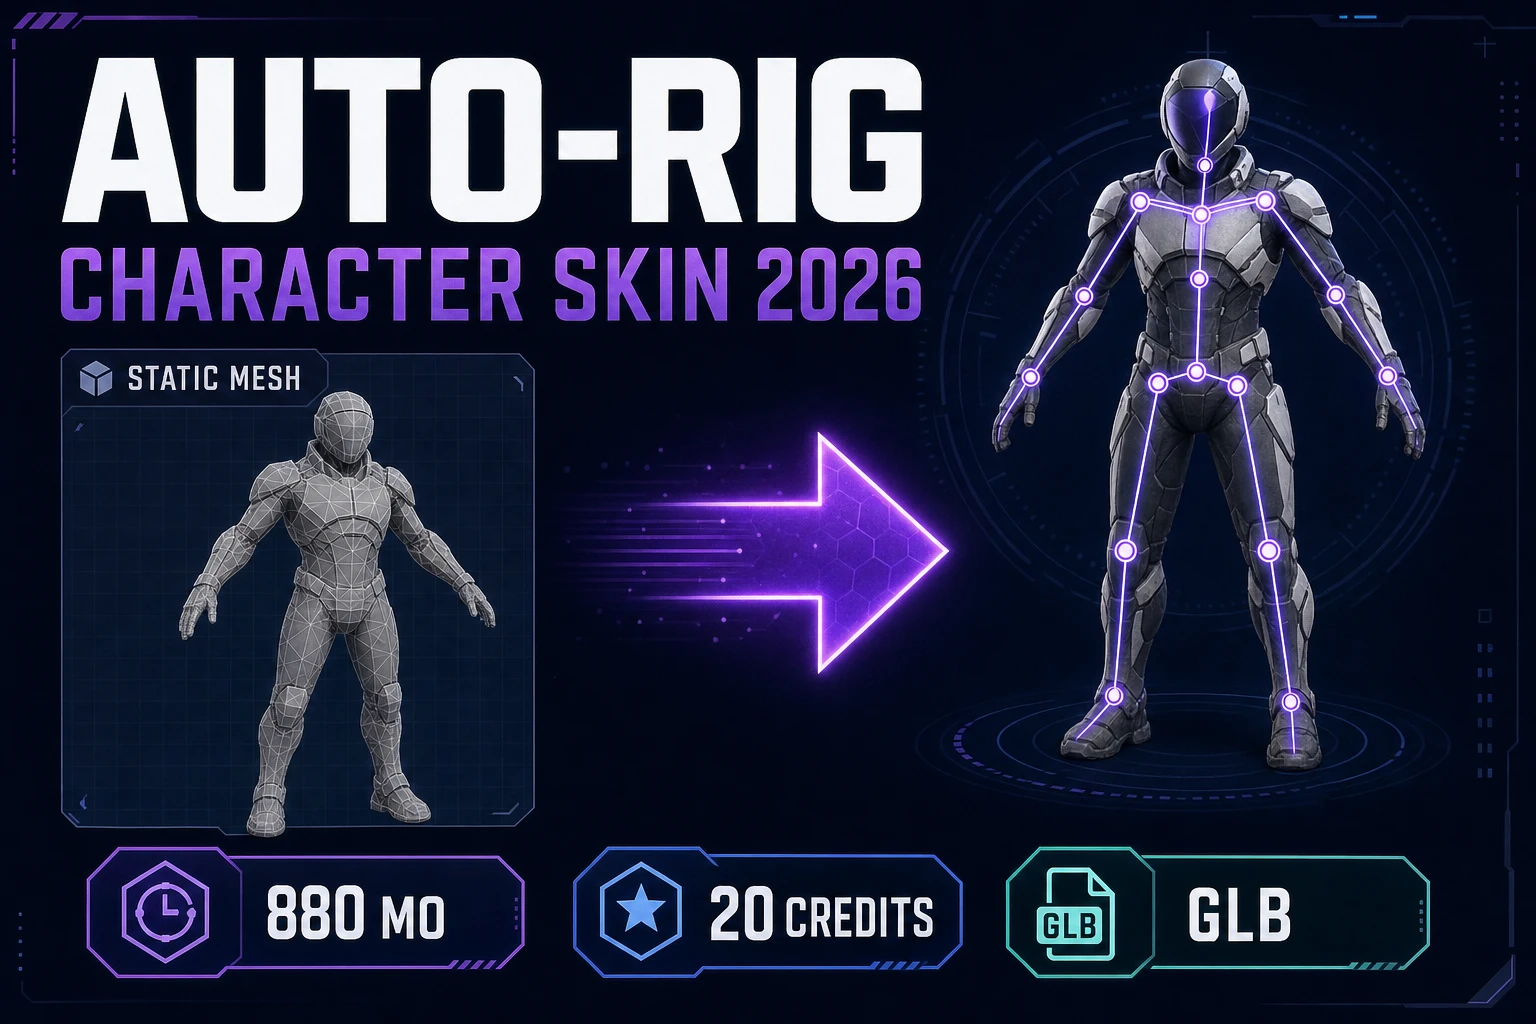
Auto-rig is shorthand for automatic skeletal rigging. The Wikipedia skeletal animation page (verified 2026-09-23) splits a character into two parts: a surface mesh and a hierarchical set of bones. Skinning then attaches mesh vertices to those bones with blend weights so a thigh bone move also moves the thigh polygons. When people compare mixamo auto rig, auto rig maya, or auto dab rig workflows, they are usually hunting for that same outcome: joints that land in the right places and weights that do not melt the elbows.
An auto-rig is not a finished performance. It is the bind pose plus the skin. Clips come later. If you skip the bind and drop a raw prop mesh into an animator, every “walk” prompt fails for a boring reason: there is no skeleton to drive.
For game jam searchers, auto-rig success looks like this: feet plant, knees crease, shoulders rotate, and the fingers do not explode when you raise an arm. Cosmetic wrinkles and muscle simulation are not the bar.
The humanoid auto-rig path on Sorceress
Sorceress Auto-Rigging is the dedicated humanoid bind surface. The 3D & Animation home card badges it Pro and describes auto-rig for humanoid 3D models plus weight-paint refinement (verified 2026-09-23 in src/app/_home-v2/_data/tools.ts). The live route is /rigging. The same rig panel also lives inside 3D Studio after you lift an image to a textured mesh.
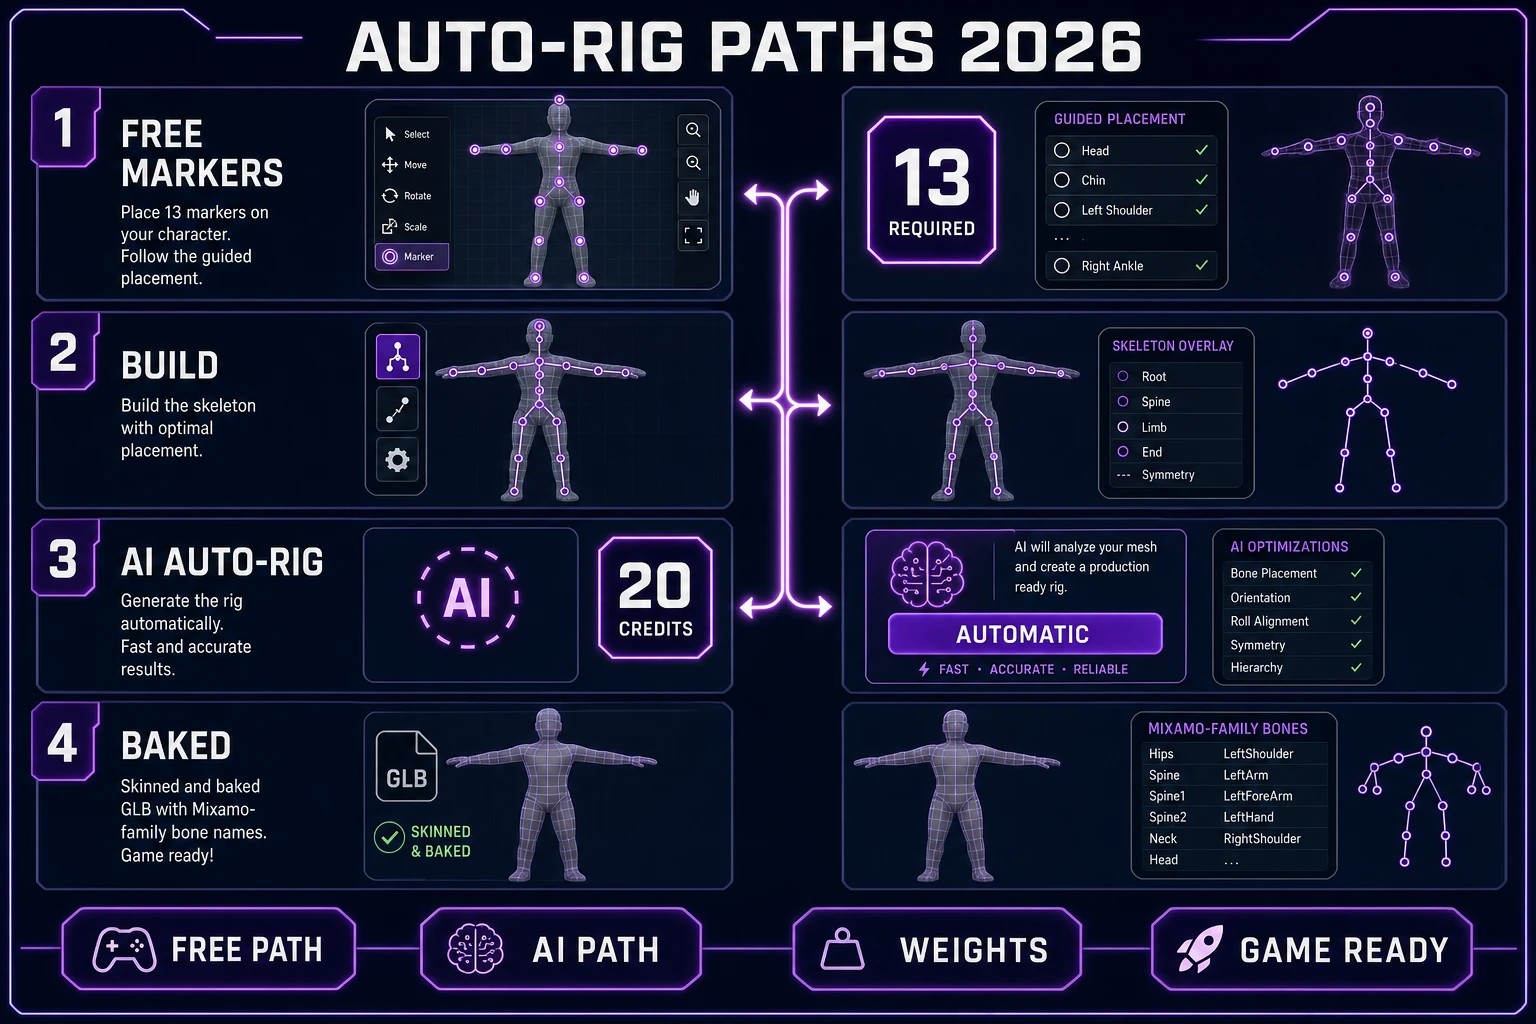
Two paths share that panel (facts verified 2026-09-23 in src/components/studio/rig/AutoRigPanel.tsx and src/lib/rigging/types.ts):
- Free marker path (primary). Load OBJ, FBX, or GLB. Place the thirteen required markers: pelvis, neck, chin, shoulders, elbows, wrists, knees, ankles. Optional hip markers exist. Build the skeleton, then compute weights. No AI auto-rig credits burn on this route.
- AI auto-rig button (secondary). One click labeled “AI auto-rig” / “Automatic · 20 credits”. The studio hands the mesh to an external humanoid rigger. What returns is a Mixamo-named humanoid skeleton with weights already baked into the GLB, so you skip Compute Weights after a success.
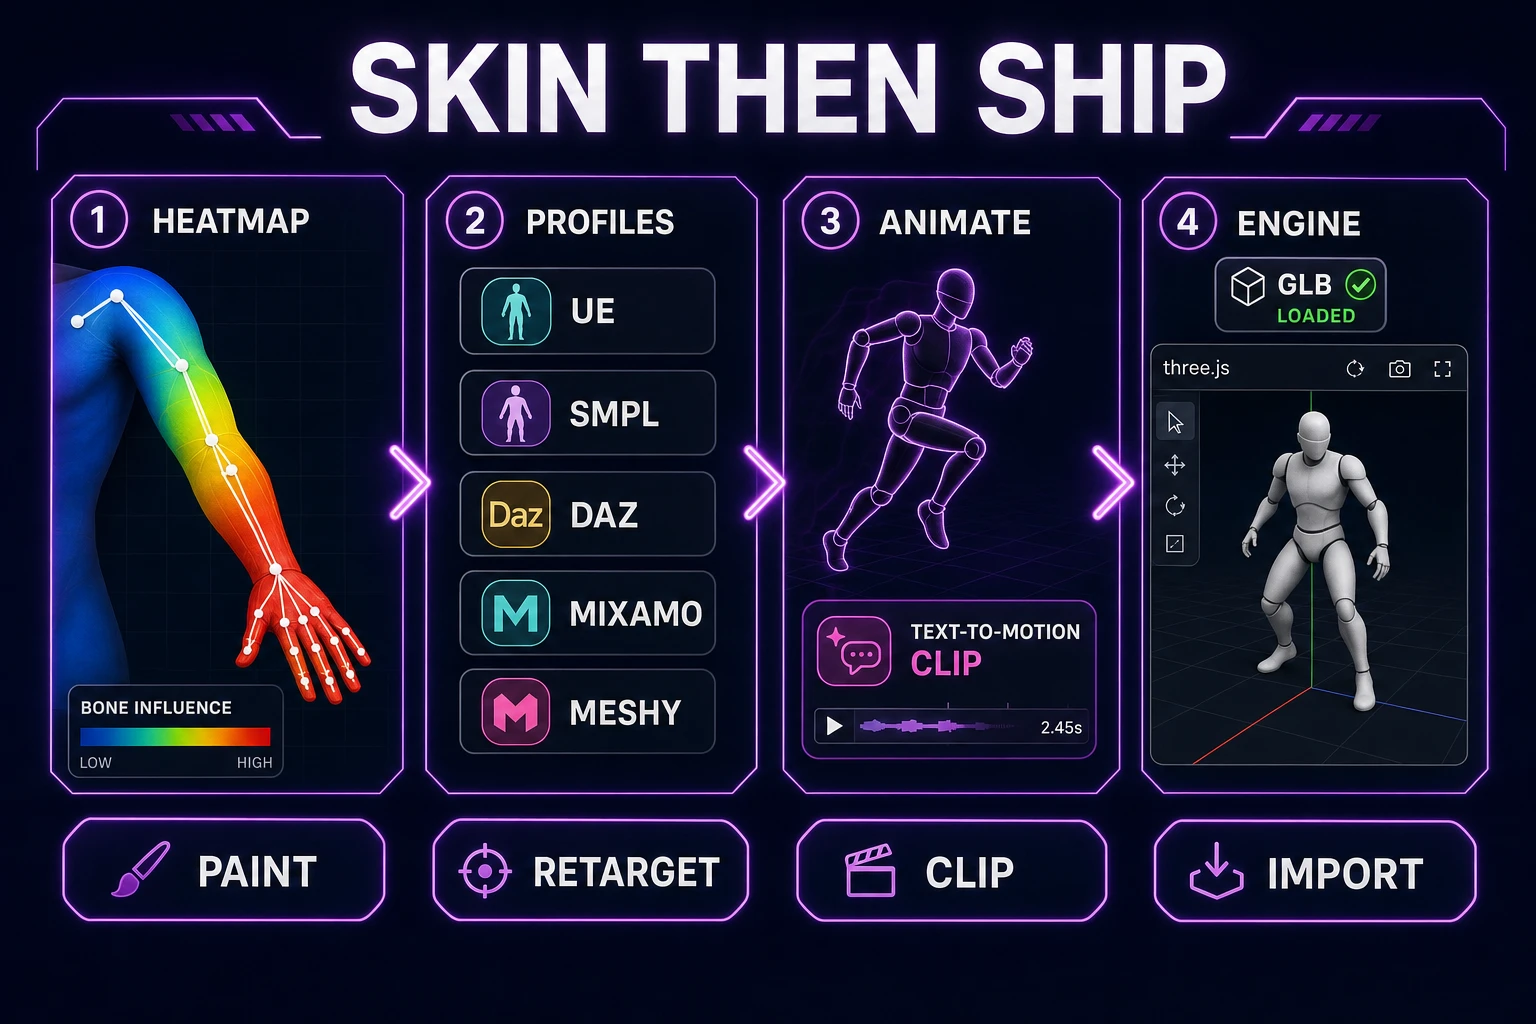
Skeleton profiles registered in src/lib/rigging/profiles/index.ts (verified 2026-09-23): UE mannequin (default), SMPL, DAZ G8, Mixamo, and Meshy. AI auto-rig results auto-detect to the Meshy profile and then use the same SMPL retargeting path as other imports. That is why a “mixamo auto rig” style bone naming set still plays with Sorceress animation tools afterward.
If you still need a mesh before you bind, generate or upload through 3D Studio first. The companion post on image to 3D model AI covers the lift step. This page stays on the auto-rig bind.
Weight paint after the skeleton lands
Bones without weights are decoration. Skinning assigns each vertex a set of bone influences. Near a knee, vertices usually blend the thigh and shin. Wikipedia’s skeletal animation page calls this matrix-palette or linear-blend skinning (verified 2026-09-23). In a browser runtime, that is the job of a three.js SkinnedMesh.
On the free marker path, Sorceress runs weight painting through a Blender bone-heat style server job after you build the skeleton (see src/lib/rigging/autoweight-runpod.ts, verified 2026-09-23). Keep the tab open until the heat map finishes. Then stress-pose the elbows and knees. If a forearm collapses into the torso, paint or recompute before you celebrate.
On the AI auto-rig path, weights arrive already baked. Open the heatmap anyway. A “succeeded” job that left the wrists weighted to the hips will still look wrong in play. Fix orientation with the facing yaw options (+90°, 180°, −90°) before you burn a second 20-credit attempt on a backwards-facing mesh.